Blogging in WordPress started in 2010. Even though it is more than 20 years ago, the tips somehow remain the same. But the difference is, it is way easier to start a blog now compared to then.
So if you are also one of those who want to add to the current number of bloggers all over the web, here are WordPress blogging tips to help you get started.
Step-by-step Guide on Starting Your Blog at WordPress
1. Set up a domain name and web hosting provider
The first thing you need to work is how you will come up with a domain name. A domain name is some sort of an address to your website, so people can visit it directly. Best examples are google.com, wordpress.org, or wordpress.com.
It is not hard to think of a good domain name. It can simply be just your name, some catchy phrase you can relate to your niche or random ones you happen to find on a domain name generator.
Since you are not sure if the domain you have thought of is already taken or not, the thing you should remember is to keep yours simple, short, yet personal, and unique. It is a good advantage as well if people can easily remember your domain name.
To register your domain name, head on to Bluehost, which is considered WordPress's recommended hosting provider. Right on their landing page, you will see the plan for WordPress website builder. Just click the “Start Building” button.
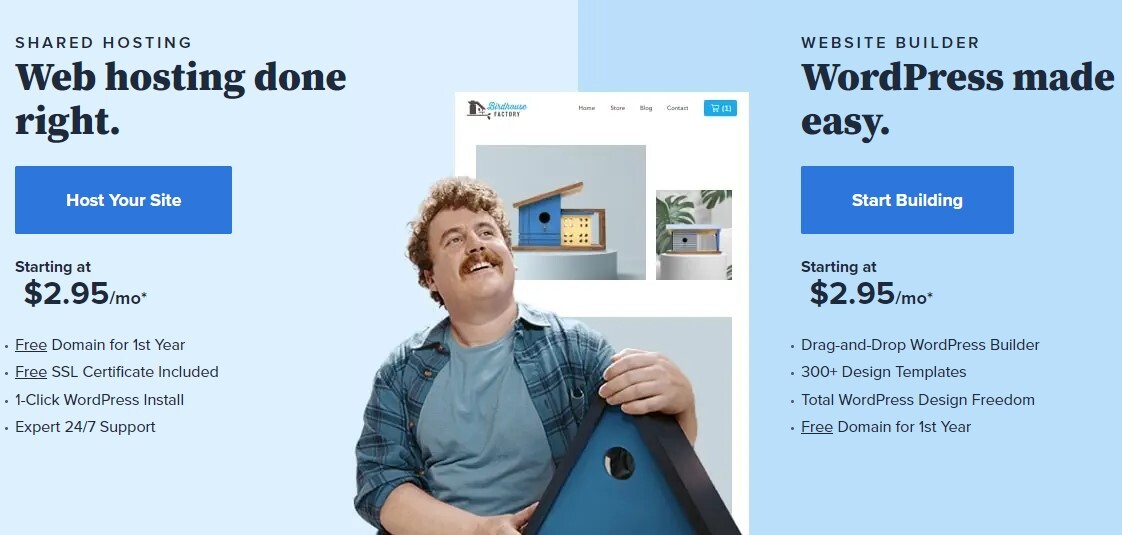
You will be redirected to the packages, just select which one is best for your blogging needs. After selecting a plan, you now have to set up your domain. You just have to type the domain you come up with or if you already have registered a domain before, type it on the other box.
After setting up, the next part is filling up your account information and the summary of the package you want to purchase.
There are also extras you can add if you want. Some of the items there are already checked such as the Domain Privacy + Protection, Codeguard Basic, and the SiteLock Security. All these are essential add-ons to keep your future blog secured on the web. But you can unmark them if you want, so they will not add up to the total price you need to pay. Do not worry, though. You can still purchase them in the future if you see the need to do so.
The last portion of the page is where you need to input your payment information. Do not forget to check the box below confirming you have read and agreed to the terms and conditions of Bluehost's auto-renewal policy. Once you are all set, click “Submit” and you are successfully done with the setup and registration process.
2. Install WordPress
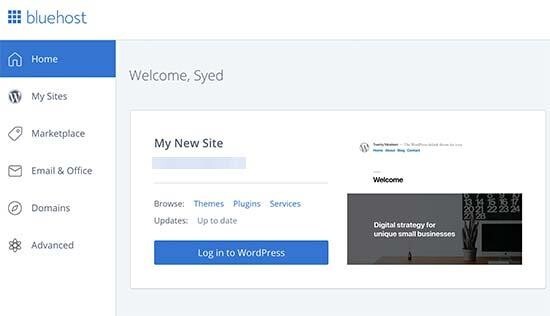
To install WordPress, you need to log in to Bluehost using the email you registered. Then, you will see your homepage and a “Login to WordPress” button. From there, you can access and install WordPress.
You can also try typing this link nameofyoursite.com/wp-admin/ on your browser and log in from there.
3. Select a WordPress theme and customize
You need to work on your WordPress blogging website by selecting a theme. WordPress has lots of free and premium themes you can use to customize your blog.
Visual appearance matters most since it helps attract more people to visit your blog, so choose the one you think will work well with your niche or content.
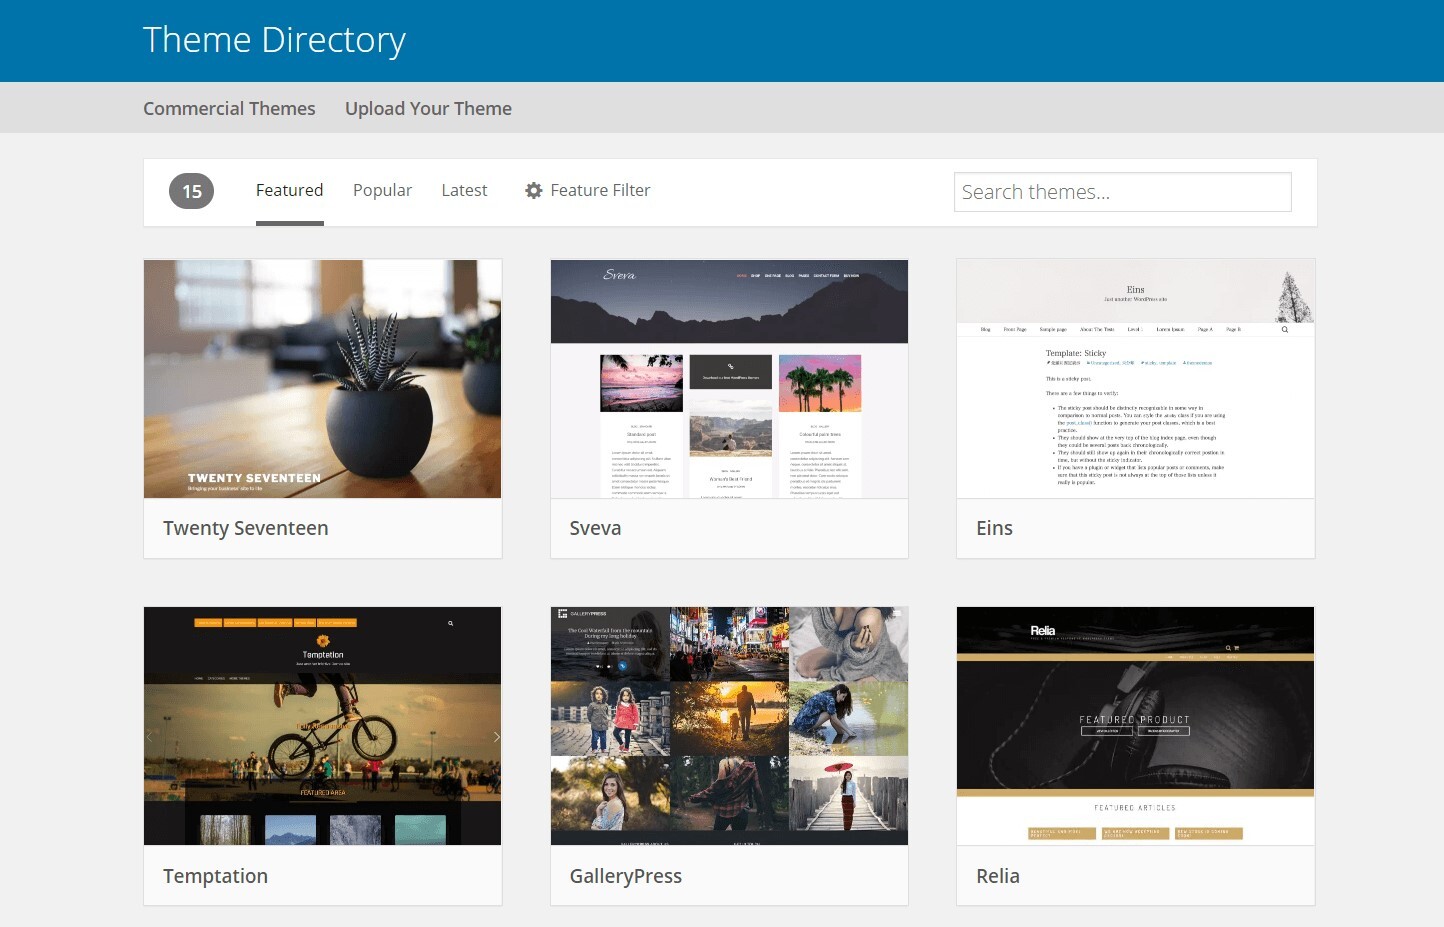
To change your theme, from your Dashboard, click Appearance, then Themes. You will see an “Add New” button at the top page, click it. You will then see a directory of free WordPress themes. You can filter the search by setting it to the layout you prefer, the industry of your niche, or if you want a specific feature you want for your blog.
If you want to know what the theme will look like when applied, all you need to do is to hover your mouse. Click More Info then Preview to see the default features of the theme. Once you are okay with it, just download or install the theme then Activate so you can customize it to your liking.
Head to the Appearance menu on the Dashboard, then click the “Customize” button and explore all the possibilities on how you would like to design your blog and add some widgets to make it more functional and easier to navigate.
4. Make compelling blog pages
While you are customizing your blog, initially you will work on the home page. Since it gives off the overall impression of your website, you need to make sure it loads well and has all the necessary details visitors will see about the blog.
Aside from that, add relevant pages to it such as the About and Contacts page. Usually, people will go to the About page if they get more curious about your content as soon as they land on your blog’s Home page. The Contacts page, on the other hand, will serve as your CTA, especially if you are offering services through your blog. You can improve these pages further once your blog grows.
5. Create your first blog post
Now that your blog’s theme is all set, it is now time to do actual blogging itself by drafting your first blog post. From the menu found on the Dashboard, click Posts then Add New to go to the blog editor section where you can type your article.
The process of drafting your blog and editing it makes it easier because of the block-based editor feature of WordPress. All the elements you will need to come up with a good blog post such as the texts, images, and videos.
Before publishing the blog post, do not forget to add Categories and Tags to the post. It will help you organize all your posts once you have plenty of published posts on the blog.
6. Add plugins
You might notice that your blog still lacks some features that will further help it grow and make it more accessible to your visitors. That is where adding some plugins will come in handy.
Plugins are applications you can add to your website that feature specific use without the need to code anything. Most plugins used for blogs are contact forms, email lists, SEO, and Google Analytics.
That being said, here's how you can add these essential plugins to your website.
● Contact form
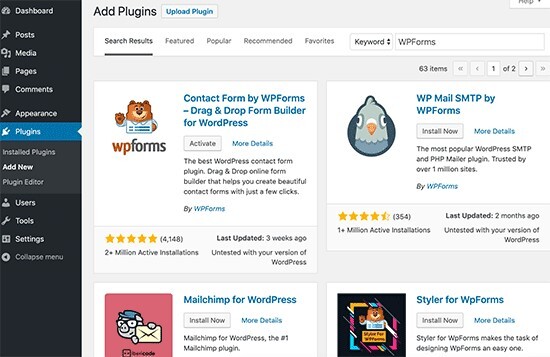
Adding a contact form to your website will give way to your blog readers to email you directly. WordPress does not have any built-in contact form, so adding a contact form plugin such as WPForms is necessary.
You can install it by going to the Plugins menu, then Add New. Search for WPForms. Once you found it, click Install and then Activate. You will then see WPForms in your Dashboard menu. Go over it and click Add New. You can now create your first contact form.
● Google Analytics
With the use of Google Analytics, you can track the number of people visiting your blog. So if you want to know how your blog progresses over time, here is how you can add Google Analytics to your website.
Head to Google Analytics website. Make sure you are logged in to your Gmail account, so you can sign up to Google Analytics for free. After logging in, you will have to share your information and website URL, so you can be given a tracking code.
Once you have the code, go back to WordPress. Start installing and activating MonsterInsights. This plugin is best suitable for Google Analytics tracking. It is also free and easy to use. After activating it, go to its Settings page to set up the plugin settings. Click “Connect MonsterInsights” to connect Google Analytics to your WordPress website.
It is pretty easy to set up. You just need to follow the on-screen instructions. Once you completed the process, you can now see the website analytics report by heading to the MonsterInsights tab on your dashboard.
● SEO
SEO is an essential tool you should have in your blog since it helps users find your blog in search engines like Google and drive more traffic.
To optimize your blog for SEO, the best plugin to use is the All in One SEO. Follow the above steps mentioned on how you can search for WordPress plugins. Search for All in One SEO, then install and activate it. To set up, just follow its quick configuration wizard. It will guide you on how you can set up a WordPress sitemap, add schema markup, and even write keywords and meta descriptions, which are both important factors for SEO.
Aside from the SEO plugin, you can also try using a keyword research tool to help you create new content ideas. The tool will give you information on what people around your niche often search for, so you can plan out on creating more content that covers those topics.
As you grow your blog, you might need to add more plugins. But we will leave it up to you as you explore the journey of blogging.
7. Monetize and grow your blog
Following all the above tips, you are sure ready now to thrive as a blogger. But it doesn’t end there. You still have opportunities waiting for you to make your blog profitable. Since blogging requires a lot of effort to build and grow, do not miss the chance to earn money from your blog. It will help you cover all the expenses you need to maintain it and have some extra cash to pay the bills.
As you expand your blog, one way to make it profitable is by selling some goods or offering your service related to your niche. Other than that, you can also invite more ads to your blog by applying to Google AdSense or trying out affiliate marketing.
So just continue learning and improving your blogging skills, and you can make the most of your WordPress blog.