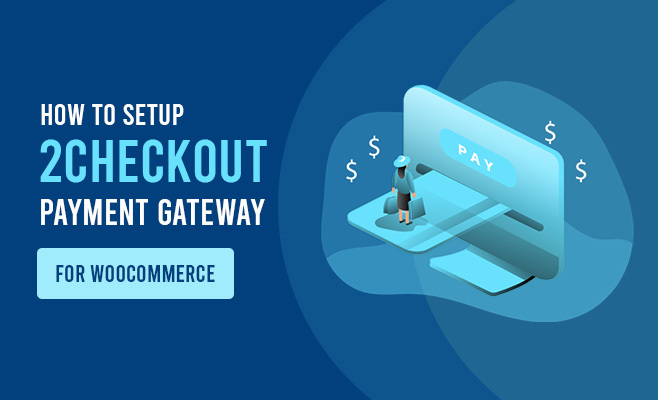
Introduction
If you are looking for a payment gateway that is easy to use and secure, then 2Checkout (now Verifone) may be the perfect option.
With over 15 years of experience and nearly 400,000 merchants processed through their payment platform each year, it’s no wonder why over half of the top 100 eCommerce stores use them as their payment gateway.
With 2Checkout.com, you can accept both credit cards and PayPal payments. It’s also straightforward for your customers to order from you, as they simply enter their credit card details and click on “Place order” to make a purchase.
The best part is that you don’t need any technical knowledge whatsoever to install and use the plugin.
It can be done in just a few minutes by anyone with basic computer skills!
Reading through this article, you will learn how to install this plugin and some benefits of using it.
What is 2Checkout and how does it work?
2Checkout is an online payment gateway or a merchant account and payment service provider by Avangate. It allows you to accept all major credit cards and PayPal on your website.
On top of that, 2Checkout gives you the flexibility to accept payments from customers around the globe and a complete solution set to optimize revenue in nearly every industry. Plus, you can trust that our PCI DSS Level-One certification provides the safety and security your customers demand.
According to the number of installations and reviews, we can say that many WooCommerce merchants are satisfied with using the payment gateway. This is due to the low transaction fee that it charges, which is only a flat rate of $0.50 per transaction, plus the regular credit card processing fees.
However, 2Checkout changed its name to Verifone in 2017 after a change of ownership. So, if you are looking to configure your WooCommerce store with a perfect payment gateway, look no further than Verifone.
Why 2Checkout is the Best Place to Buy From
With over a decade of experience in online payments, 2Checkout is a global leader in payment processing. It provides businesses with an easy way to accept payments from customers worldwide. Some of the benefits of using this payment gateway are:
1. Offers standard and inline checkout options
Customers can either choose to checkout using the Inline or Standard option. The Inline checkout is a modal that pops up on the page and allows customers to pay with a single click. The Standard checkout is a more traditional checkout form that allows customers to enter their payment information.
2. Robust integration
2Checkout has a powerful integration that allows businesses to accept payments from customers efficiently. It supports multiple payment methods, including credit cards, debit cards, and PayPal. This payment gateway is also PCI compliant, meaning businesses can rest assured that their customer’s data is safe and secure.
3. Supports multiple currencies
Businesses can accept payments from customers in over 200 currencies. The supported payment methods include Visa, MasterCard, American Express, Discover, PayPal, JCB, Diners Club, and many more.
Besides, it also supports recurring payments and allows businesses to set up subscriptions for their products and services.
4. Secured transaction
This payment gateway allows customers to rest assured that their personal information is safe and secure. It uses industry-standard security measures, such as SSL and PCI compliance to protect customer data. This payment gateway is also fraud prevention certified by Trustwave.
How to set up 2Checkout for WooCommerce?
Step 1: Installation
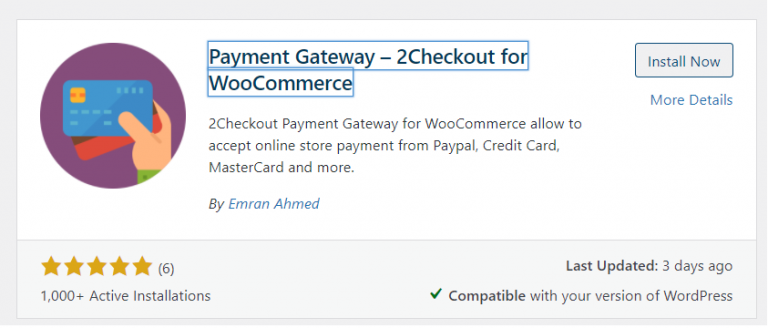
To install this plugin, navigate to your WordPress dashboard, go to Plugins > Add New and search for ‘2Checkout for WooCommerce’ as your keyword on the plugin search box. You’ll find the plugin by Amran Ahmed among a list of other plugins. Now, click the ‘Install’ button. Lastly, click the 'Activate' button to activate the plugin.
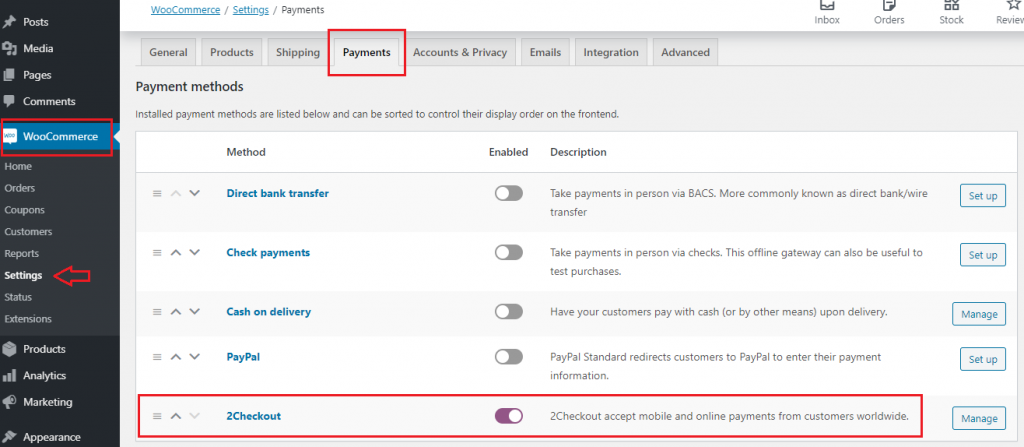
Step 2: Enable 2Checkout for WooCommerce
Once you've activated 2Checkout, head to your WordPress dashboard and click on WooCommerce > Settings > Payments, this section contains a list of various payment methods. Toggle the slider with the 2Checkout to enable the payment method.
Step 3: Sign up for a 2Checkout account
It will be necessary to have an active account with 2Checkout. If you don't have one, you should visit the 2Checkout website and sign up for an account. Ensure to fill in all the blank fields on the sign-up page.
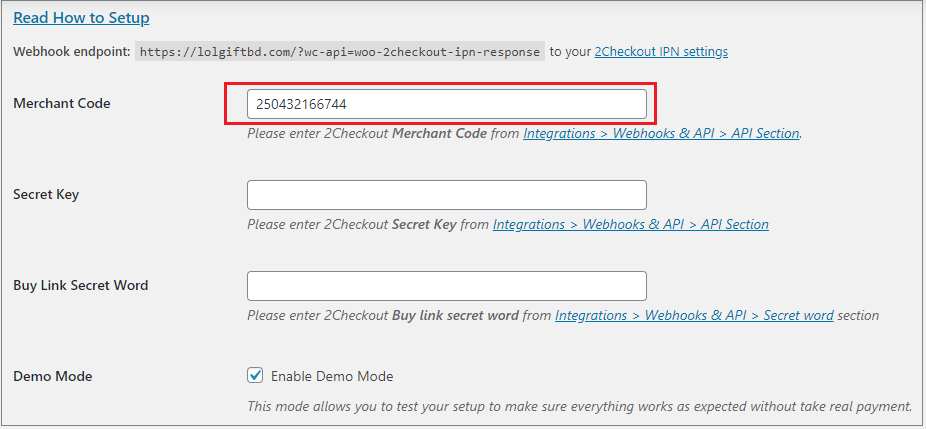
Step 4: Link your WooCommerce details with 2Checkout
In this section, you will need to link the details of your WooCommerce store to those of your 2Checkout account. On your WordPress dashboard, go to Plugins > Installed Plugins. Under 2Checkout, click on 'Settings' to access your plugin's settings.

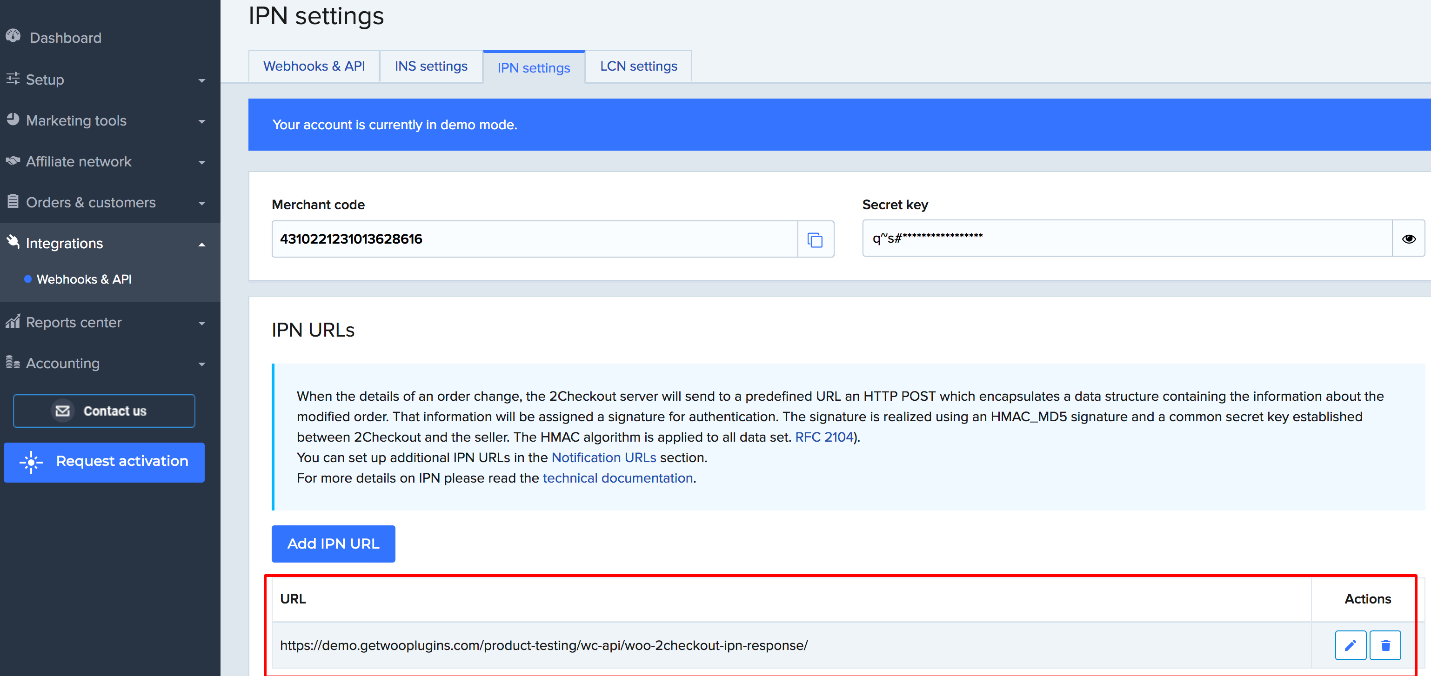
Step 5: Setup IPN URL
Copy the webhook endpoint URL. See the attached image below.
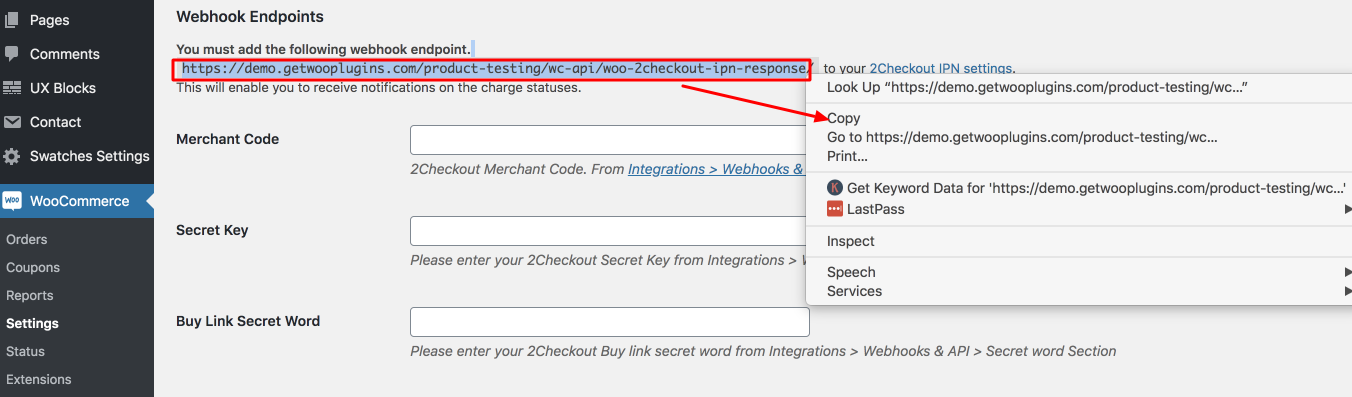
Next, click the '2Checkout IPN settings' link beside the webhook endpoint URL.

This will open up a screen with IPN settings. Next, click the 'Add IPN URL' button and paste the URL you copied earlier from your plugin’s settings in WooCommerce.
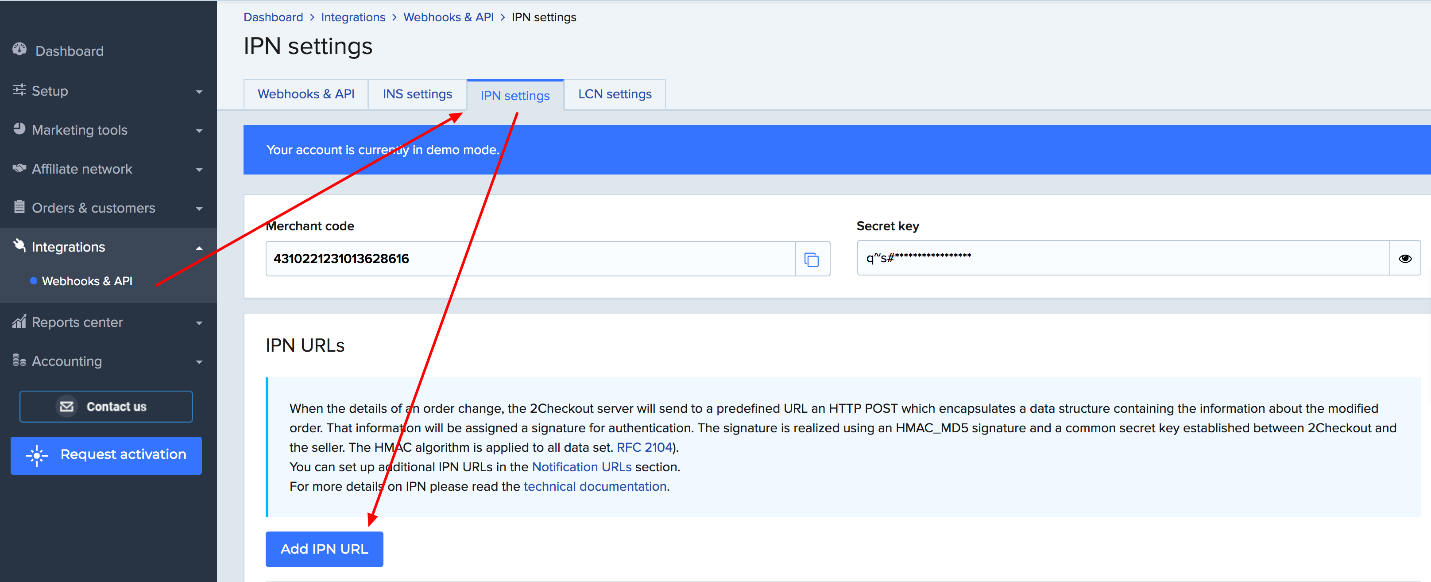
Once you've pasted the link, click the 'Add IPN' button, and your URL will now be visible URL lightbox list.
Step 6: Add a Merchant Code
Follow Integrations > Webhooks & API > API Section URL to add a merchant code. This will take you to 2Checkout settings, where you'll find a Merchant Code in numeric form. Copy the code.
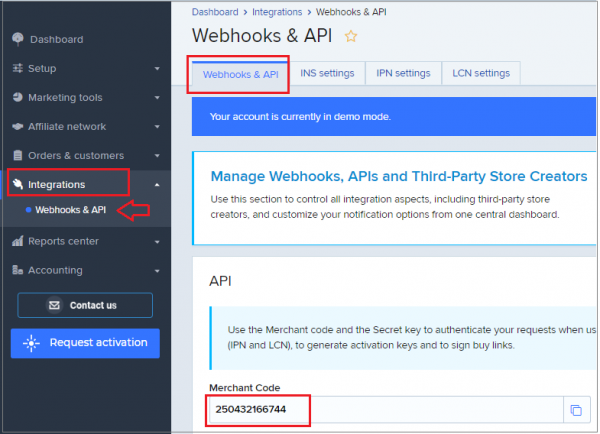
Now, navigate back to your WordPress dashboard and go back to the plugin’s Settings page. Paste the code you have copied from your 2Checkout account on the merchant code section.
Step 7: Add a secret key
Now it's time to add a secret code to your plugin's settings. Click on the Integrations > Webhooks & API > API Section URL. Copy the secret key provided in 2Checkout.
To proceed, return to your WooCommerce store and navigate to the plugin's settings. Paste the code you copied in the 'Secret Key' field.
Step 8: Set up a buy link secret word
Finally, it's time to add a buy link secret word. Click the Integrations > Webhooks & API > Secret word URL. Copy the secret buy link word and paste it in the 'Buy Link Secret Word' field on the plugin settings section. After adding all three details, click the 'Save changes' button to proceed.
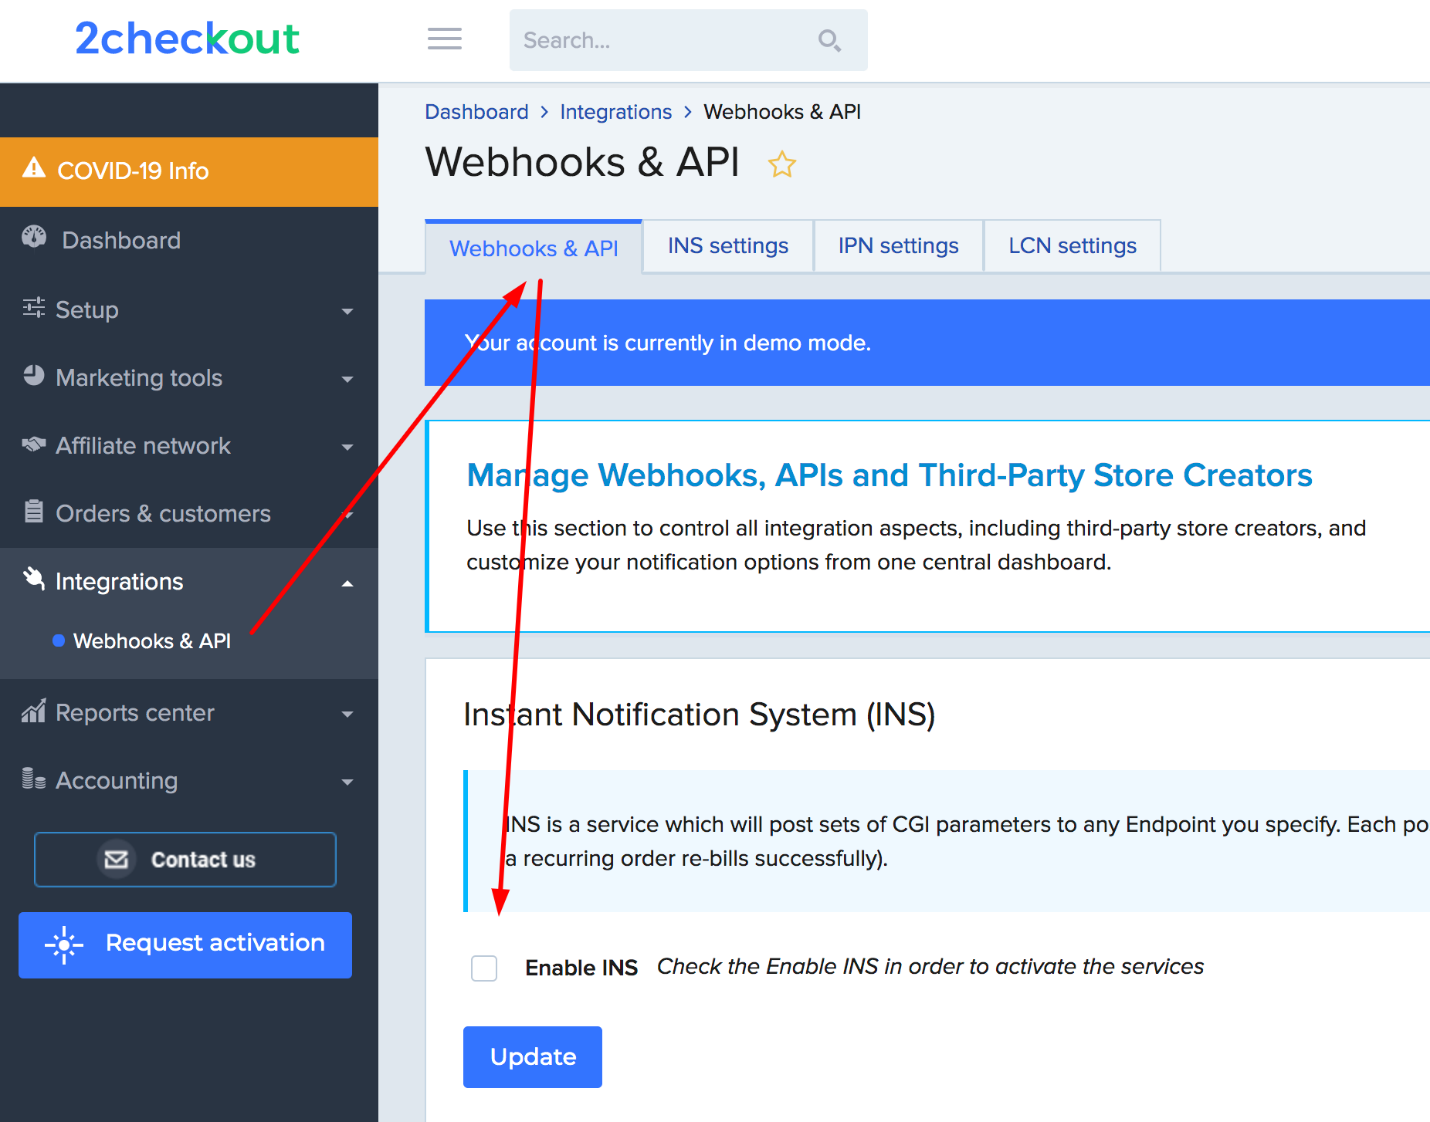
Step 9: Configure IPN settings
Navigate to the 2Checkout dashboard and go to the 'Webhooks & API section'. In the 'Instant Notification System (INS)' section, ensure that the 'Check the Enable INS in order to activate the services' option is disabled.
Next, scroll down to the 'Notifications' section and ensure that 'Email Text & IPN' is selected for the payment notification type.
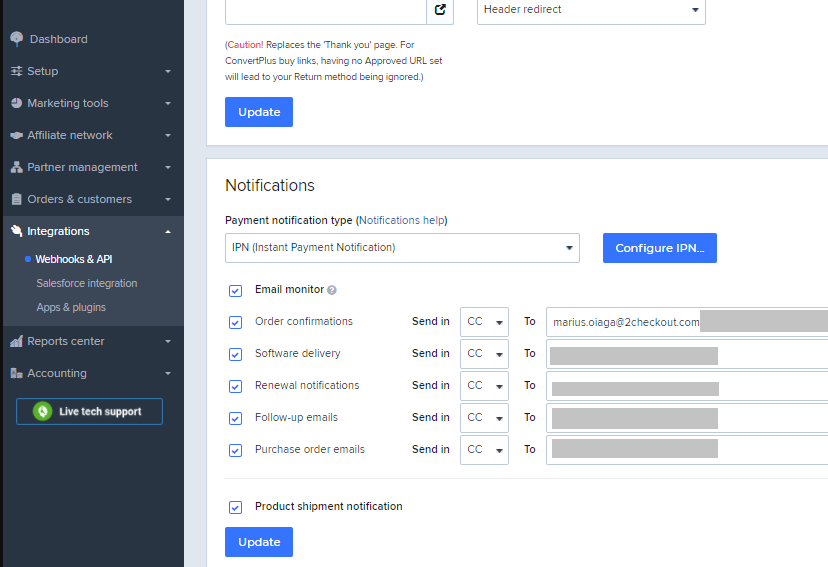
If you want to receive a copy of emails that 2Checkout sends to your customers, checkmark the 'Email monitor' option. Similarly, checkmark the 'Product shipment notification' checkbox if you wish to receive product shipment notifications.
To proceed, click the 'IPN settings' tab to configure your general IPN settings. Ensure to checkmark checkboxes with the settings shown below.
In the 'Response tags' section, ensure all the options are selected by clicking the 'Select all' button and then 'Update'.
Step 10: Testing 2Checkout payment gateway
Go to your WooCommerce store and add a product to your cart. Next, click on 'View Cart' and 'Proceed to checkout', respectively. Add your billing details in the required fields and upon completing, click on 'Proceed to 2Checkout'.
Select the card type you wish to make your payments with on the checkout form. Enter your card details and click on the 'Place order' button. Your order will be processed, and you'll receive a notification once it's successfully placed.
To confirm the status of your order, you can go to WooCommerce > Orders, and you'll see whether your order is undergoing processing.
Final Words
There are many options to choose from when it comes to online payment gateways. However, if you want the best possible experience for your customers and yourself, you should use the 2Checkout payment gateway for WooCommerce.
This plugin will allow you to receive payments from your customers through a credit card or other online payment methods. In addition to that, you can also enjoy a wide range of features, such as automated fraud prevention, 24/hour customer support, and more.
So, if you're looking for a way to improve the checkout process of your e-commerce website, then this is definitely worth checking out!
We hope this article has helped explain adding 2Checkout to your WooCommerce store. In case of any queries, note them down in the comment section. We'll get in touch. And once again, we recommend using the plugin for the best possible experience. Thanks!
What is the fee for using 2Checkout?
The fees for using this payment gateway vary depending on your country and the currency you wish to use.
Which is the better payment gateways? Stripe or 2Checkout?
It depends on your needs. Stripe is excellent for smaller businesses, while larger businesses may find the features offered 2Checkout more suitable for their needs.
Do I need a credit card to sell on 2Checkout?
No, you don't need a credit card to sell with 2Checkout. You can use the payment gateway as long as you have a PayPal account, as well as a valid bank account.
Is the payment gateway secure?
Yes, it is one of the most secure payment gateways available today. This gateway uses industry-leading security measures to protect your data.