Introduction
Whether you’re operating a small or large business, accounting is an essential aspect that should not be overlooked. With adequate accounting knowledge and expertise, you can effectively minimize the risks of making poor financial decisions.
Having a perfect accounting system will not only assist you in tracking expenses but also help you stand out against your competitors when it comes to managing your financial losses.
With Xero accounting software, you can simplify your everyday accounting and bookkeeping by automating the whole process.
Besides, you can easily manage your sales reports, inventory and billing. Xero and WooCommerce integration have many other benefits to offer to help you scale up your business.
This article will guide you through some methods to successfully integrate Xero into your WooCommerce store and how you can benefit from this powerful tool. But first things first, let’s learn more about Xero.
What is Xero Accounting Software?
Xero is a cloud-based accounting software solution essential for small businesses, bookkeepers, and accountants. This software enables users to automate their everyday tasks, including adding orders in spreadsheets, invoicing and payrolls, connecting programs to live bank feeds, and other essential accounting tasks.
Upon integrating both platforms, one can easily automate the process of invoice creation, thereby saving plenty of time and increasing efficiency. After completing the installation and set-up process, orders from your WooCommerce store are transmitted to your Xero account for record updating.
Furthermore, you do not have to worry about your data privacy since sensitive information is highly secured. Xero is compatible with cash-based and accrual accounting systems making it a perfect option for companies that adhere to IFRS and US GAAP accounting standards.
Xero is available in 3 packages; Starter ($20/month), Standard (30$/month) and a premium plan ($40/month), depending on the size of your business. You can also take advantage of their 30-day free trial.
Key Features of Xero
Xero forms part of the best online accounting software solutions specifically designed for small and medium businesses. With its powerful features, business owners can be assured of streamlined accounting processes. Below are some of the features that make Xero the perfect solution for most eCommerce businesses.
1. Reporting
With Xero, business owners can easily keep track of their business’s finances with the help of Xero reporting tools to generate accurate accounting reports. Hence, this can help you access a detailed overview of your store’s performance. You can also perform various tasks such as data entry, sales tax, bank reconciliation and many others. Moreover, you can enable real-time collaboration despite their geographical location, thereby saving plenty of time.
2. Invoicing
Xero comes with robust invoicing software to help you manage your invoices more efficiently. In addition, you can easily send invoices from your desktop or mobile immediately after an order is placed. Furthermore, WooCommerce Xero enables you to customize your invoices by adding essential details such as your company logo and its name to make your invoices stand out. You can also add other fields such as the name and address of the customer and the order details. Finally, you can mark the status of your invoices as paid, pending, or draft for easier tracking of all your orders and payments.
3. Payments
Xero supports multi-currency accounting whereby customers can use their credit and debit cards to make online payments in over 60 currencies globally. Besides, customers can use Stripe for more payment options, such as Google Pay and Apple Pay. Xero has also made it possible to view reports in local and international currencies, enabling accounting experts to analyze how cash flow is affected by currency markets. Last but not least, the software provides robust security for the safety and privacy of your data.
4. Inventory
Do you need a perfect accounting solution to help track your inventory? The WooCommerce Xero integration helps you maintain an up to date inventory record for your business. Additionally, you can manage your Point of Sale and cash management with Xero’s accounting software. Any orders from your WooCommerce store automatically get updated in Xero and vice versa assisting you to keep track of your product’s stock level, thereby minimizing chances of overstocking or going out of stock.
How to Integrate Xero with WooCommerce
Connecting Xero to WooCommerce can help you automate plenty of accounting functions in your business. This section will show you two ways to integrate WooCommerce and Xero to make the most out of this amazing tool. Read on to learn more!
1. Use of Xero for WooCommerce Direct Integration
Step 1: Installation and Activation
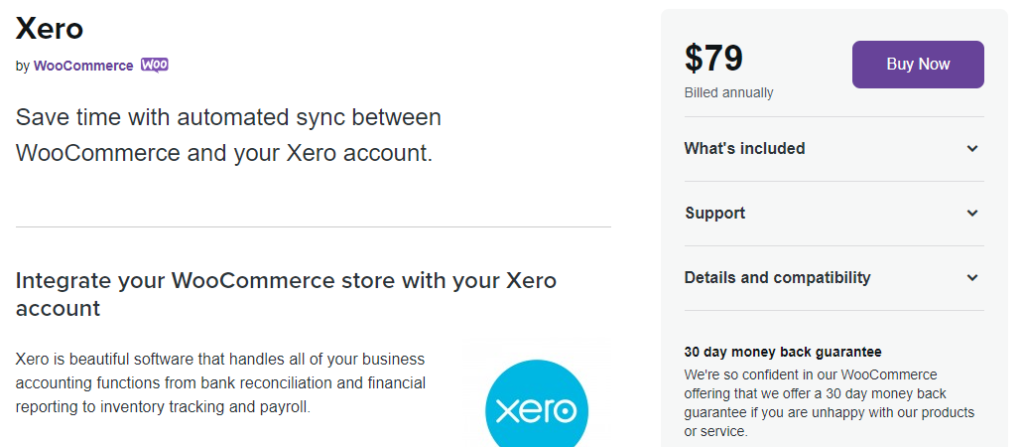
Firstly, you will need to purchase the Xero for WooCommerce extension and download the .zip file in your WooCommerce account. This process will only take a few seconds.
Next, navigate to your WordPress dashboard, click on WooCommerce > Plugins > Add new. Click on “Upload Plugin” on the top right corner of your dashboard, and upload the file you just downloaded. After the file has been uploaded, click the “Install Now” button and follow all prompts to activate the plugin.
Step 2: Configuration
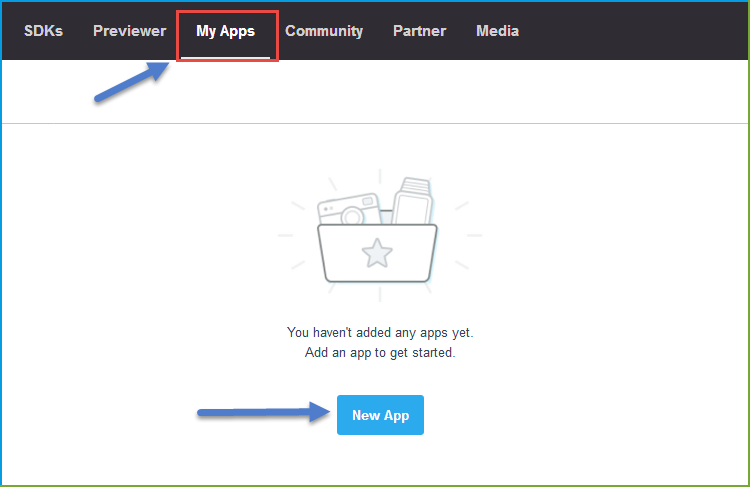
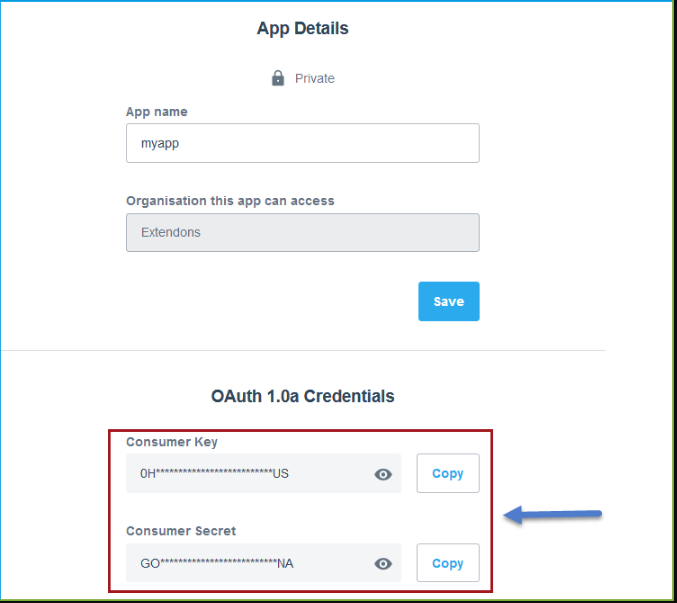
At this point, you’ll need to configure the setting of your plugin. To start with, create your Xero account at Xero website by going to the Xero Developer portal > My apps. Click on “new app”, and a new window will appear requiring you to add your details. Ensure to create an integration style, enter a name for your app and add the relevant URLs requested.
You can find the OAuth 2.0 Redirect URL in the setting page in the WooCommerce-Xero settings in your WordPress dashboard. Click on “Create app” to finish up your application creation process.
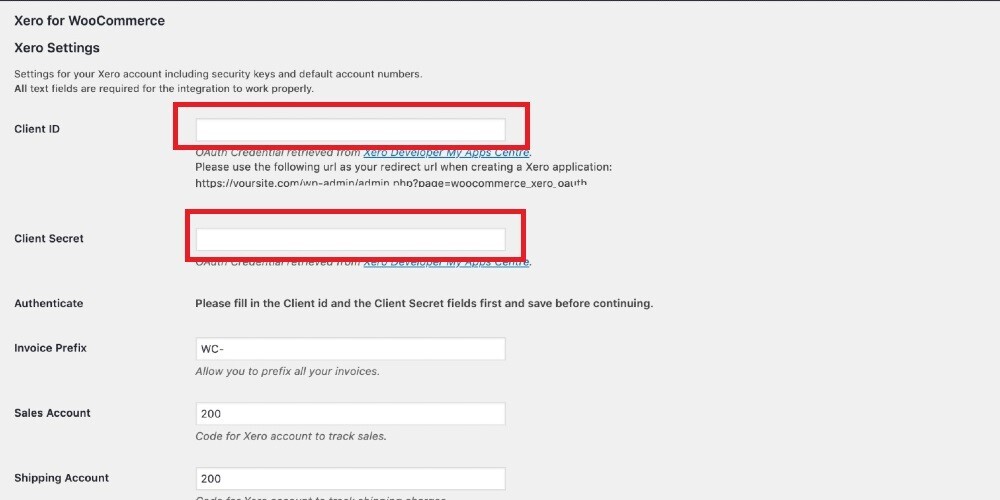
The next step involves connecting the application to WooCommerce. After creating your app on Xero Developer, a new screen appeared with the details you entered and some extra information such as the client ID.
Copy this ID and paste it into the WooCommerce-Xero admin settings page under the “Client Id” field. Similarly, navigate the Xero Developers tab and select ‘Generate a secret’. Copy the generated secret and paste it to the ‘Client Secret’ on the WooCommerce Xero dashboard.
Then, click on the “Save” button and a ‘Sign in with Xero’ pop up will appear. Click on it, and enter your email and password to complete the connection process. Finally, select Allow access > Connect, and you’ll have completed the connection process.
Step 4: Set up Account Codes
At this stage, you’re required to enter the account codes provided by Xero in order to synchronize invoicing and payments. Go to Xero dashboard > Accounting > Charts of Accounts to do this. Every data has a unique code that is customizable, or you can use the default codes. Copy these codes and paste them in the respective field at WooCommerce > Xero.
With that said, your WooCommerce store is successfully integrated with Xero, and you can now effectively streamline your accounting operations.
2. Use of Zapier Integration
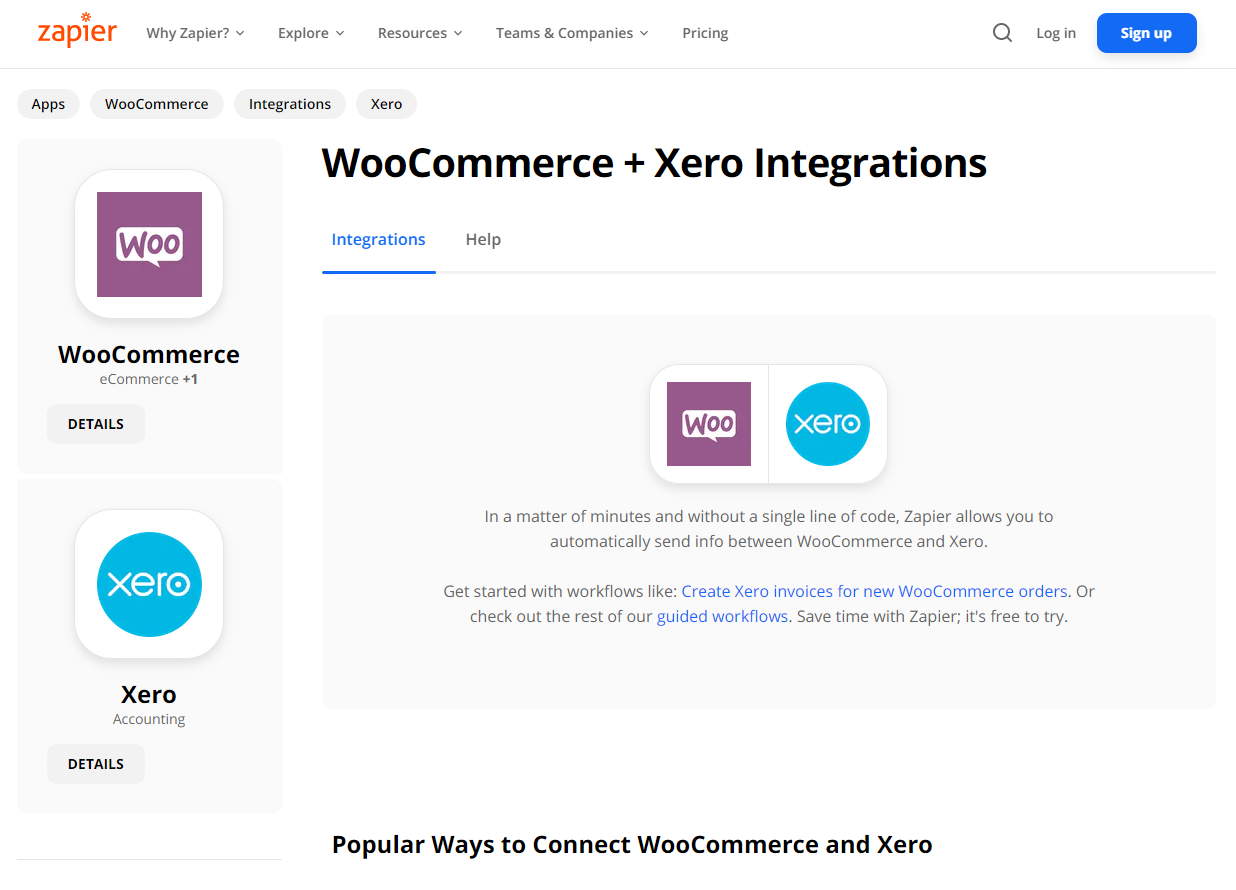
Zapier is a powerful online automation tool that can enable you to integrate Xero with WooCommerce to improve your accounting experiences. Besides, Zapier can assist you in sending sale invoices to your teams and setting up Xero invoices. All this, without any coding or requiring any help from developers.
To integrate Xero with WooCommerce, start by creating an account with Zapier. Once you’ve signed in, create a zap to enable you to integrate both platforms. A zap is simply an automated workflow between your applications. A zap usually consists of a trigger and a single or multiple set of actions.
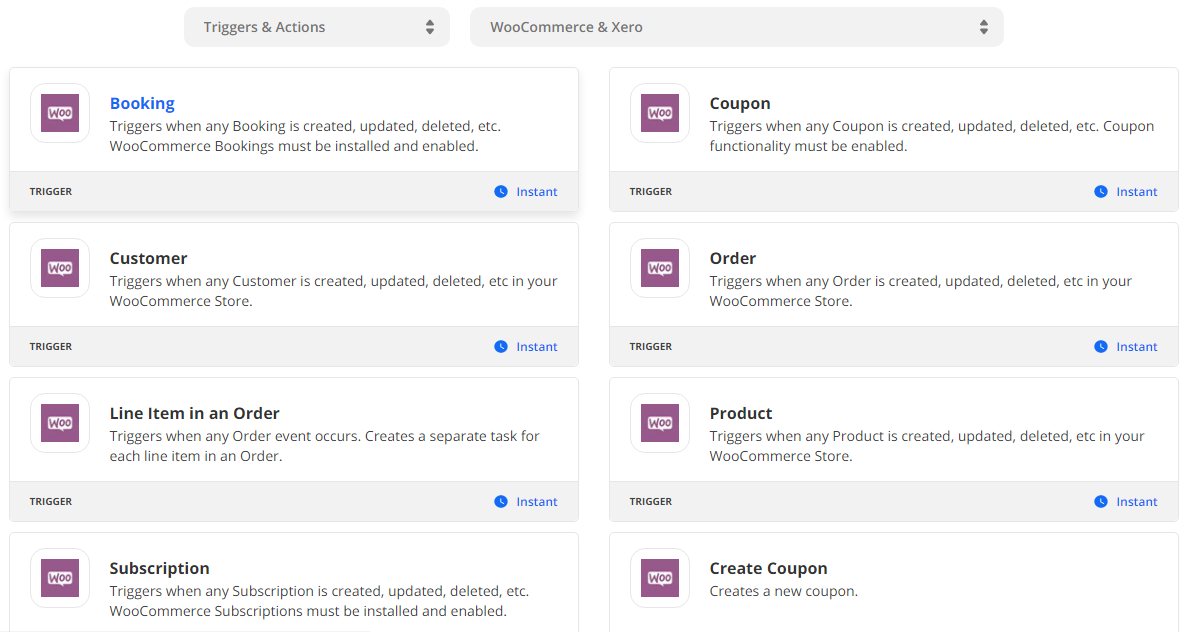
Now, select the app you need to act as the trigger to begin your automation process. For instance, you can pick the occurrence of an order to your WooCommerce store as the trigger. Pick a resulting action you need the other app to do once the trigger is executed.
Lastly, select the data you’d like to share from one app to another. At this point, you’ll successfully have managed to send information from one Xero to WooCommerce or vice versa automatically.
Conclusion
If you need powerful software to cater to your accounting and bookkeeping needs, I recommend the Xero accounting software.
With the WooCommerce Xero integration, you can automate accounting processes to save time and enhance the accuracy of your business performance.
Additionally, you can efficiently manage your store’s payments, invoices, inventory, and reporting system.
To integrate WooCommerce with Xero, you may use the Xero for WooCommerce extension or the Zapier plugin.
Have any questions related to this topic or WooCommerce? Don’t hesitate to leave us a message in the comment section. We’ll get back to you.
How does the Xero for WooCommerce module work?
Xero for WooCommerce enables you to generate invoices in Xero for your WooCommerce store automatically. Once the installation and configuration of the module are completed, each order made in WooCommerce is synced to Xero.
How do I subscribe to the Xero extension subscription?
To subscribe to the Xero extension subscription, log in to your Xero account and navigate Settings > Chart of Accounts. You can access 12 months of support and upgrades for the extension subscription.
How do you integrate Stripe and Xero?
Go to Settings > Payment Services > Add Payment Service > select Stripe to integrate Stripe and Xero. Add the required details in the screen that appears, i.e. Name and payment account. Finally, click ‘Connect to Stripe’ to finalize your integration.
What is zipzapier for WooCommerce?
With Zapier, you can automatically send information from your WooCommerce store to Xero. When a customer places an order, a trigger prompts an action on the other end where the booking is updated.