
If you are very lucky, you would never need to use any debugging tools as your site is running smoothly and without any issues. However, there are no perfect websites and you will most likely encounter some issues which would require you to take a closer look.
For your convenience, WordPress includes a built-in debug mode, while you can also take advantage of some 3rd party debugging tools.
Today we will dive into details regarding the topics of WordPress debugging.
What is WordPress debugging?
All plugins and themes, as well as the core WordPress software is written in PHP.
If you have some problems with your site, WP debug mode can help you know where the issue lies by displaying notices, PHP errors and warnings.
Once debug mode is enables, you will see message such as the one bellow.

You can now fix the problem or make a report to your developer.
What is a WP debug log?
When WP debug mode is enabled by itself, messages such as the one above, will be displayed in the moment, but note they will not be displayed anywhere.
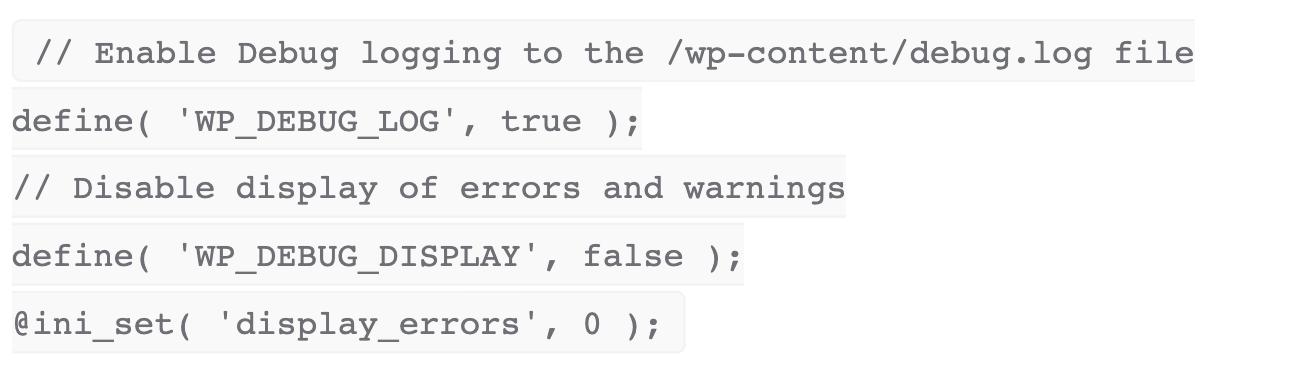
If you wish to save them, then you would need to enable the WP debug log, so that all of these messages and errors are stored on your server.
When setting the wp_debug_log constant to true, all issues will be written to the following file: wp-content/debug.log
You also have the option to specify a custom file path so the logged is written to a different location on your server.
If you wish to save the issues to your log without displaying them publicly within the HTML of the pages, you might also use the wp_debug_display constant. This will the debug mode will stay enabled but will not display messages on your site.
Enable the WP Debug Mode
There are a number of options available for enabling the Debug mode in WordPress.
1. Using a WP debug plugin
With the help of several WordPress debug plugins you can enable the debug mode. One of mentioned plugins is the free WP Debugging plugin.
It starts working immediately after you install and activate it. The following constants are set to True by default:
- wp_debug – will enable debug mode.
- wp_debug_log – will save messages to your log file
- script_debug
- savequeries
For making further configurations, you need to go to Tools – WP Debugging:
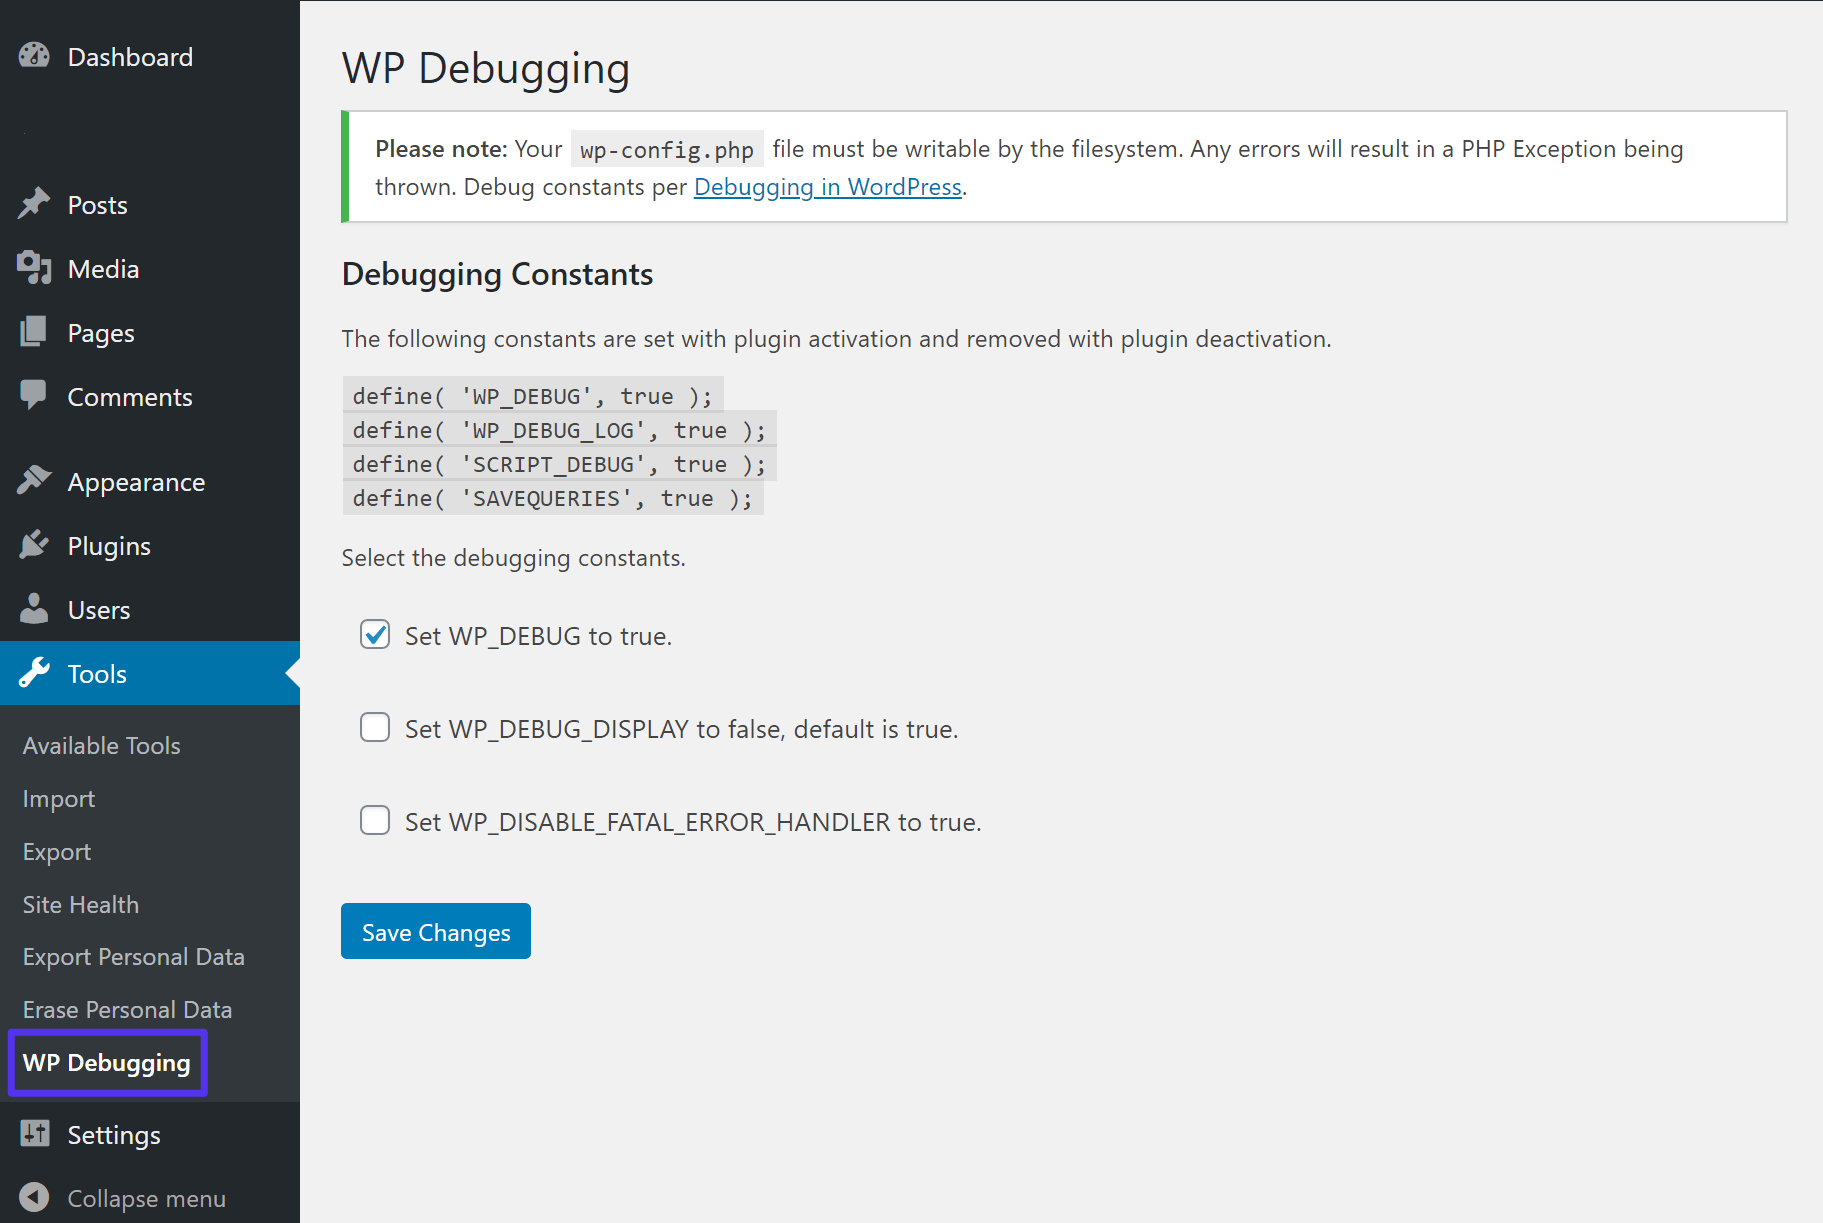
After you finish your tasks, make sure to disable the plugin, which will disactivate the debug mode.
Manually enabling the debug mode
Lastly, you can enable the debug mode manually, by adding the constants to your wp-config.php file.
First, connect your server using FTP and edit the wp-config.php file. This file is located in the root folder of your website by default.
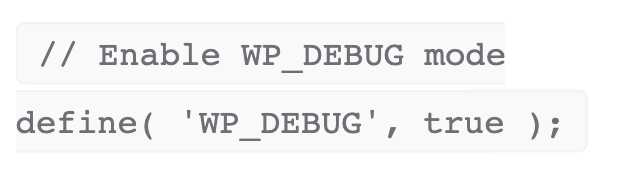
In order to enable the basic WP debug mode, you simply need to add the following code above the line stating That’s all, stop editing! Happy blogging.
As per your preferences, you can also use some of these constants:
After finishing, set the constants to false or simply remove the snippet to deactivate the debug mode.
Don’t forget to disable debug mode in WP when you are done!
This mode is very helpful when you want to troubleshoot issues in WordPress, but it should not be left enabled 24/7, as it your website visitors can get access to your PHP code.
Additional ways for WordPress debugging
Aside from the debugging tool, there are a number of other 3rd party built-in tools which will help you with your site debugging.
Script Debug
Another constant ( script_debug) which forces WP to use the dev versions of core CSS as well as Java Script files and not the minified versions it usually loads.
This can be useful when making tests to certain changes for the built-in .css ot .js files.
In order to enable script_debug, you can:
- Use the WP Debugging plugin
- Add the constant define(‘script_debug”, true); to your wp-config.php
Database query debugging
When you are experiencing issues with your website’s database, you can enable the database query logging with the help of the SAVEQUERIES constant, so that you can track:
- All database queries
- The function which called the database query
- How long the query took
For you to enable to query logging:
- Use the WP Debugging plugin
- Add this constant to your wp-config.php file – define(‘SAVEQUERIES”, true);
Be advised, that your website’s performance will be affected, so make sure to use it on a staging site if possible and disable it when you are done.
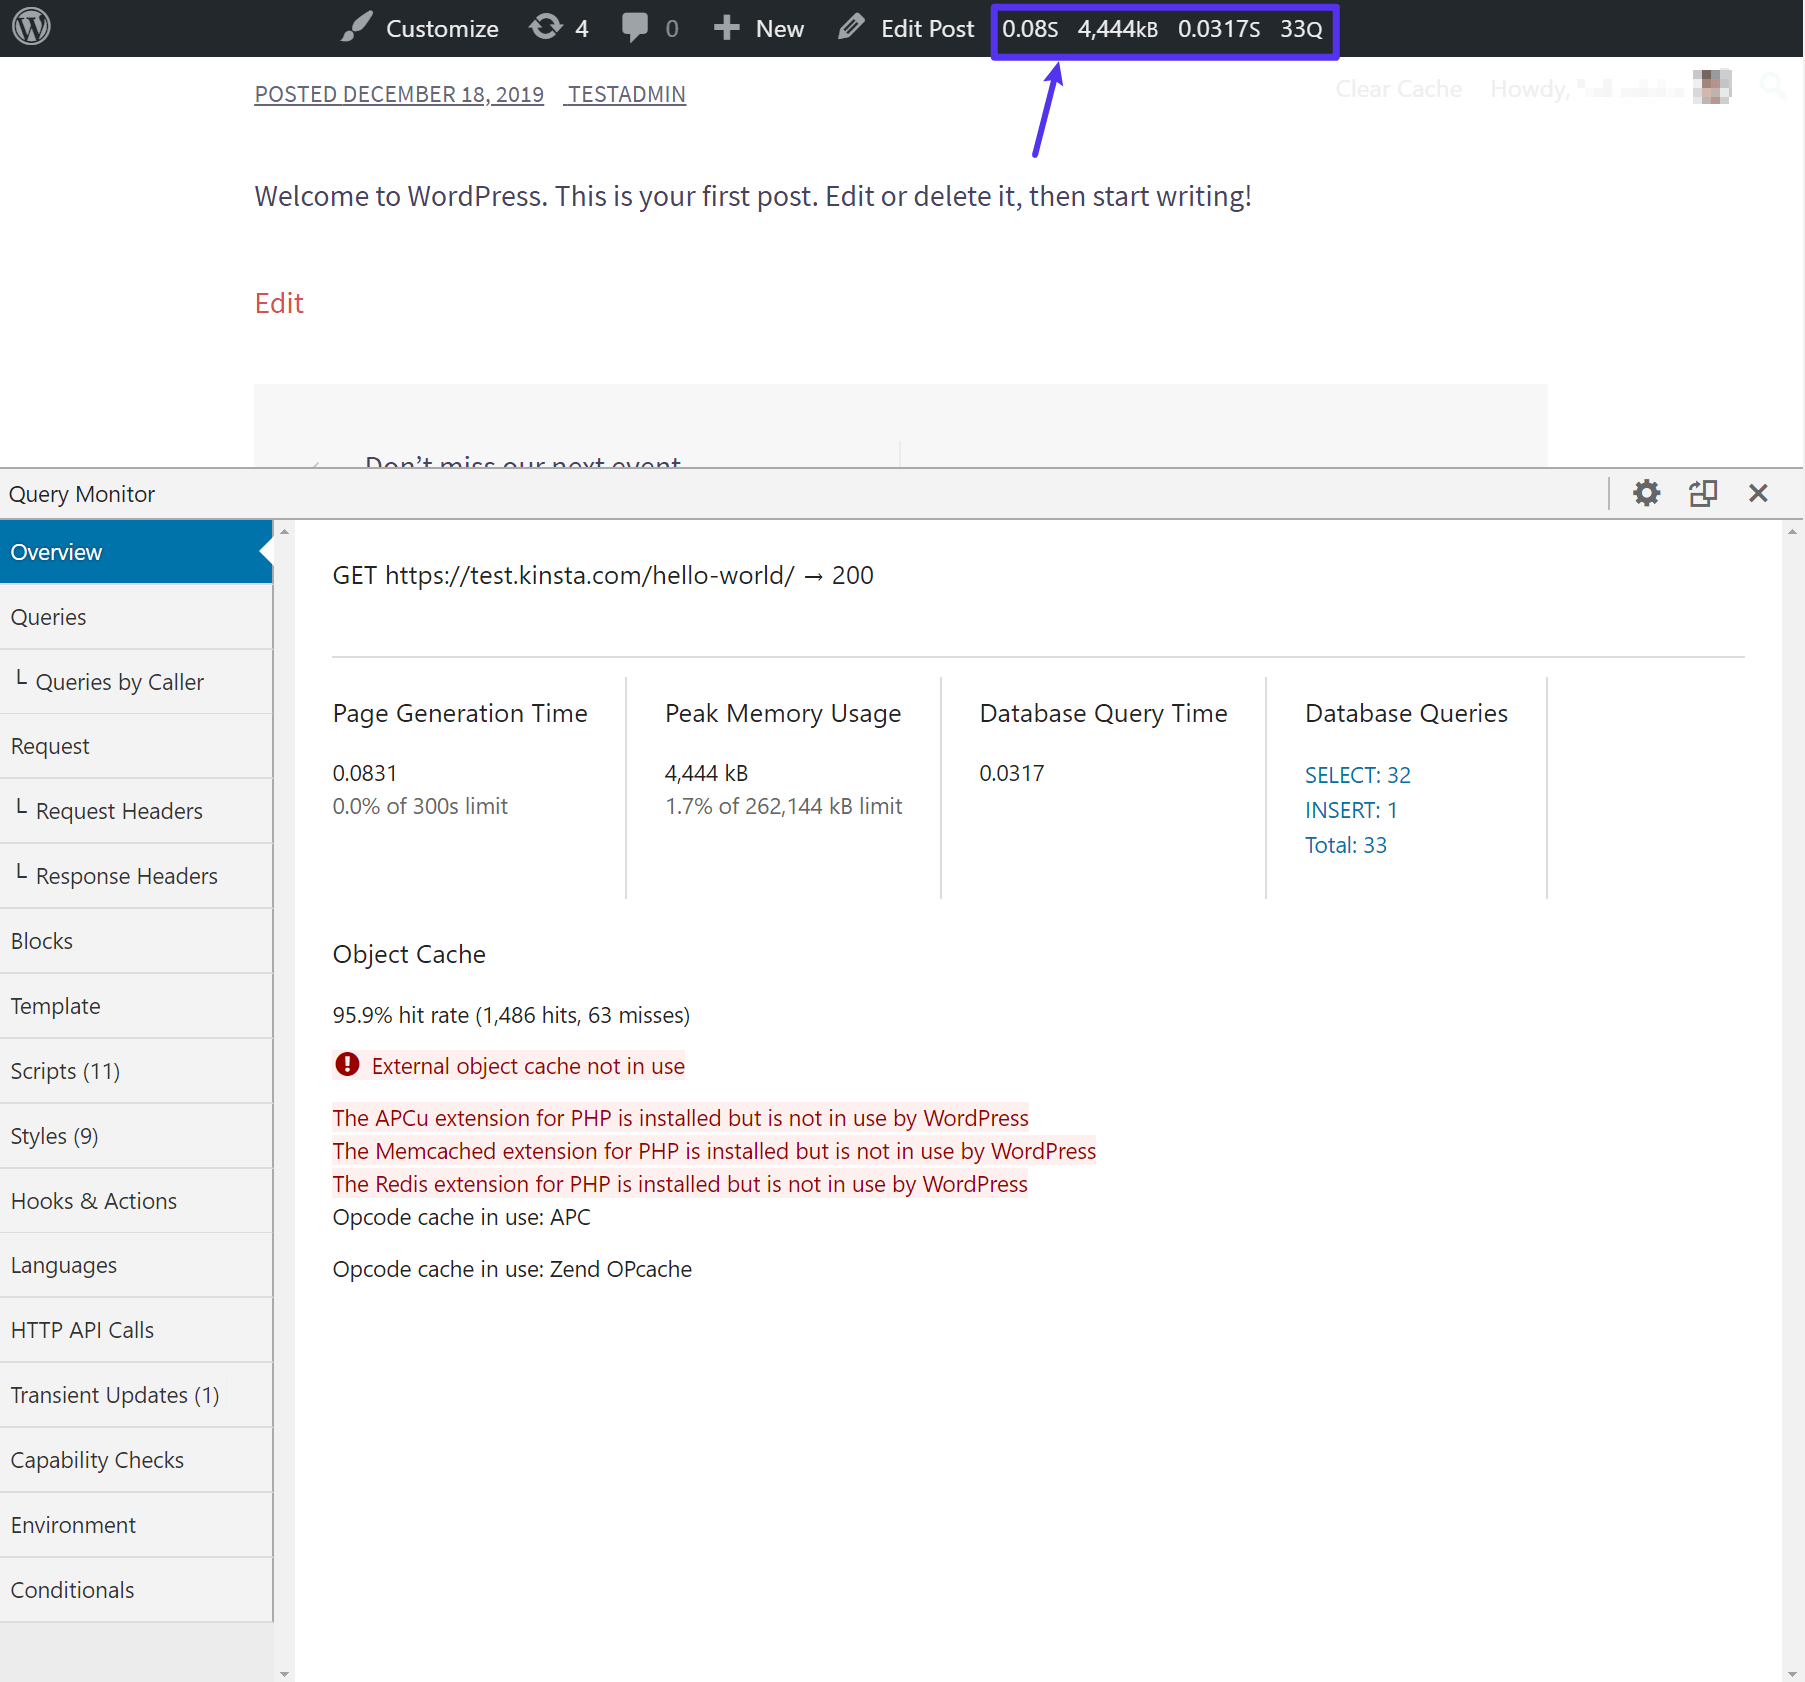
Query monitor plugin
This is a free plugin which is helpful when debugging different WP areas, such as:
- Database queries
- PHP errors
- Block editor blocks
- Hooks and actions
- Enqueued scripts and stylesheets
- User capabilities
- HTTP API calls
This is one of the best available debug tools with its 5-star rating.
After installing and activating it, you have some additional options on your WP toolbar which displays debug information. After clicking on them, you will see a new Query Monitor box with additional information.
New relic
This premium tool used for debugging and analysis can help you discover issues and bottlenecks which are affecting your website’s performance.
Server Logs
Server logs can also be useful when debugging your website.
Make sure to check with your hosting’s documentation to check where the server logs are located and how to access them.
Conclusion
When you need to debug your WordPress site, the built-in WP debug mode is an excellent tool to view PHP errors and notices.
You can also use other 3rd party tools such as free Query Monitor plugin or New Relic.
What’s your experience with website debugging? Share with us in the comments bellow!