Maintaining consistent communication with clients is critical to businesses. Beyond just updating the content on your site to reflect a new communication direction, you need more personalized communication with your customers. Sending conversion-generating messages to customers will indeed boost your return on investment.
MailChimp is an email marketing provider that allows you to develop subscriber lists and create ongoing marketing campaigns. MailChimp can also be used with your WordPress website to streamline your email marketing campaign.
Using this email marketing service ensures that you maintain positive communication with your customers and target audience. This post looks at how to integrate MailChimp with your WordPress website.
How to Integrate MailChimp to Your WordPress Website
To connect MailChimp with WordPress, you need to install the plugin into your site. Let us walk you through the process to get you started on using MailChimp for your email marketing campaigns.
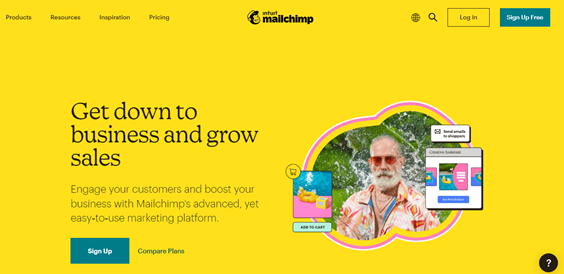
Step One: Register a MailChimp Account
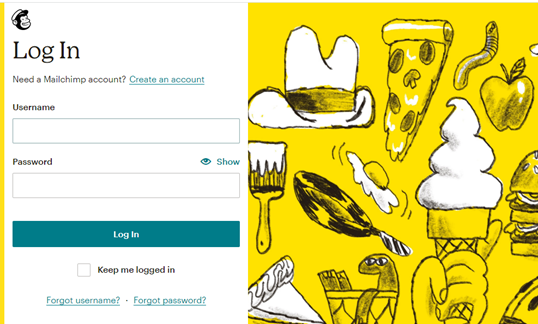
• Go to the official website of MailChimp to sign up for an account.
• Fill out your email address, a unique username, and a password. Click on the “sign up” button.
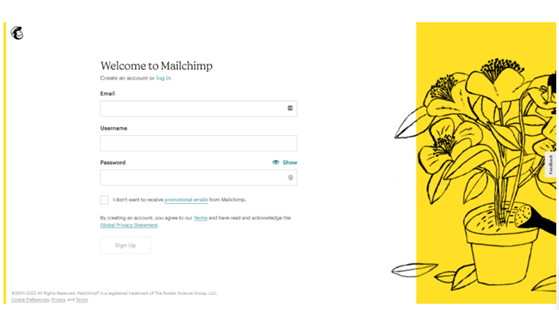
• You will see a successful registration popup on your screen. Go to the email address you provided during registration and click the activation link from you.
Note that if you integrate the MailChimp plugin with your WordPress site without confirming your email, you may experience functionality issues along the way.
Step 2: Set up your MailChimp Account
• Login to your MailChimp account and answer some basic questions to complete the account setup process. You have to provide specific details while completing the setup process, including your name, valid email ID, Company details, Website URL, and physical address.
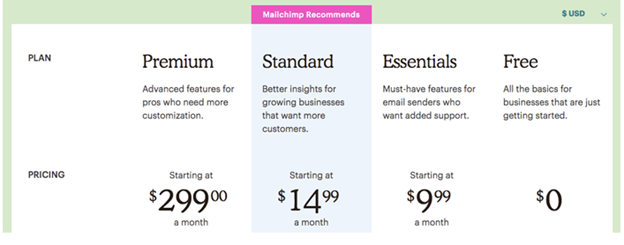
Step 3: Choose and Confirm your MailChimp Package
The email marketing service provider starts all users on its free package automatically. You can connect your MailChimp account to MailChimp for the WordPress plugin. You can decide to upgrade to a paid plan if you want more functionalities that are not included in the free plan.
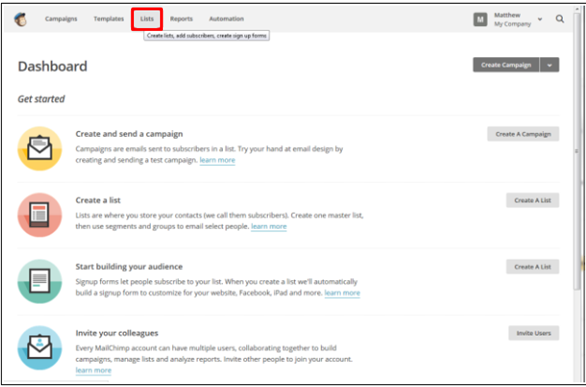
Step 4: Create your Email List
While setting up your account, you will be prompted to import or create your email list. If you did not do it then, you have to build a new email list. You can upload a file with your contact list details using “Import Your Contacts”. You can also manually create a list. To do this, select “Add a Contact” and then fill out each field with the required details.
Step 5: Install the MailChimp WordPress Plugin
Although you can use MailChimp on your WordPress site without additional tools, you need the MailChimp WordPress plugin. To install and activate the plugin, follow the steps:
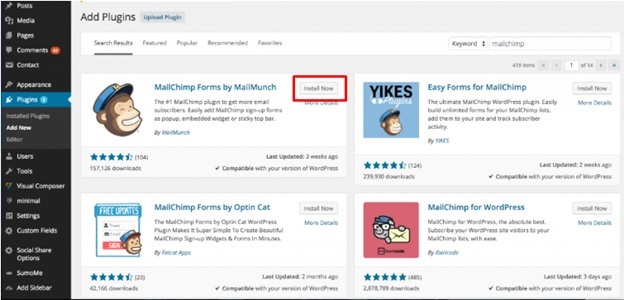
• Login to your dashboard and click Plugin.
• Next, click on “Add New” and type in MailChimp for the WordPress plugin in the search box.
• Click on the plugin and install it like you installed other plugins on your site. Next, click “Activate”.
After installing and activating the plugin, go to the “MailChimp Settings” on your dashboard. From here, you can integrate your MailChimp account to your site with an API key. You need this to access forms and lists on your site.
Step 6: Find or Create an API Key
To find an API key, do the following:
• Go to MailChimp for WordPress plugin on your site and then click on “MailChimp” from WordPress.
• Look for the API Key field and click “Get your API Key here”.

• You will be redirected to the official MailChimp site. From there, click “Create a Key”.
• Copy the code generated. Go back to your website to paste the API code into the required field.
• Next, click “Save Changes”.
With this, you can access already created forms, email lists, and other integrations from your dashboard. You can also build new forms and add them to your pages, widgets, posts, with a shortcode.
Step 7: Create MailChimp Forms to Your WordPress Website
After installing the MailChimp plugin, you can create and add signup forms to your site. You can do it on the MailChimp site manually after generating your API code. You can create and add different form types to your site, including an inline-block, sidebar signup, and a popup.
The type you choose will depend on your user experience and marketing goals. Let us reiterate that you have limited functionalities when using the free version of MailChimp. If you want more, you need to upgrade to a paid subscription.
How to Add a Popup Signup
• Go to “Lists” in MailChimp and then click on “Signup Forms”.
• Next, click on Subscriber Pop-up”.
• You can choose a design to customize your popup. Some design options include display and formatting.
• Select the “Fields” you want to include in the form, including name, email address, and others. You can also add background images.
• Preview the popup and tweak it as necessary.
• Click on “Generate Code” from the bottom of the form editor. Next, highlight and copy the code.
• Next, navigate to your WordPress dashboard and add the code to your site’s HTML.
How to Add Inline Signup
If you plan to curate subscriber emails without tampering with the UX on your site, simply add inline signup. Here is how to do it:
• Go to “List” and then “Signup Forms”. Next, click on “Embedded Forms”.
• Choose a preferred signup form from Classic, Naked, Super Slim, and Horizontal. If you want to fix the form in a little space, you should choose Horizontal. However, you have the freedom to use anyone that you prefer.
• When you are done customizing your Inline Signup form, click “Generate Code”.
• Highlight and copy the code and then navigate to WordPress and choose a Custom HTML block to paste the code from the block editor.
How to Add Sidebar Signup
• From MailChimp, go to “Lists” and then “Signup Forms” and then “Embedded Forms”.
• Select a design option and customize it to your taste using the available features. • Once you are done, copy the code and navigate to your WordPress site.
• Go to “Appearance” and then “Widgets”.
• Select the “Custom HTML” widget and then track it to the “Sidebar” column.
• Paste the code into the “Content” field and then click “Save”. The form will be displayed on your site.
Conclusion
There is so much you can do with MailChimp for WordPress. You can set up an automatic newsletter and run email marketing campaigns seamlessly using the plugin. It is undoubtedly your one-stop destination for managing your business communication.
How do I add a newsletter to my WordPress website?
Log in to the admin panel on your WordPress site. Mouse over the plugins link in the left column and click on the “Add New” link. Input “Newsletter” in the Search Plugin box to find the plugin. Click on “Install Now” to install the Newsletter plugin.
How do I create a newsletter in MailChimp?
Navigate to the “Campaign” page on your MailChimp Dashboard. Name your campaign and select a preferred template. Write out your newsletter and send it. It is as simple as that.