It’s hard not to feel like we’ve entered a new era when we can buy anything with just a few clicks on our phones! Instagram is a prevalent social media platform that has quickly become a significant player in e-commerce.
Instagram shopping, popularly known as “shoppable posts,” allows users to take their browsing experience beyond just liking and following products they like on Instagram. Users can now shop for items directly from posts by tapping the link in the bio or clicking “Shop Now” at the bottom of each post.
But what if you already have your WooCommerce store? How do you integrate WooCommerce with Instagram so that your customers don’t go elsewhere for their purchases?
In this post, we’ll discuss how you can set up your WooCommerce Catalog feed to sync with your Instagram account to make it possible for your Instagram followers to see all the products you have to offer and make a purchase without ever having to leave the app.
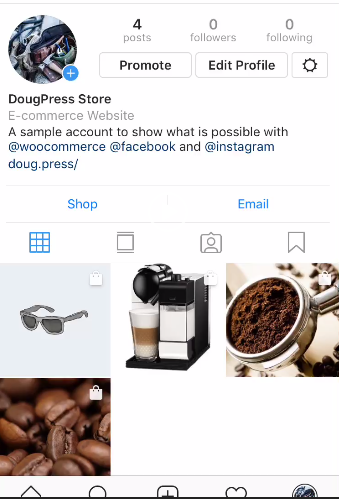
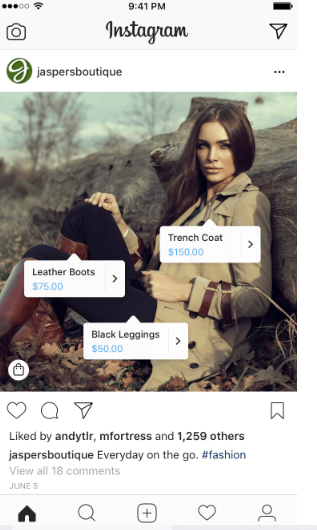
Shoppable posts on Instagram contain links to products for sale on the web. When users tap on one of these links, they are directed to the merchant’s website, which has a dedicated landing page for that product. On Instagram, these posts look like any other post (except they have a white “SHOP” button at the bottom), and businesses can include as many shoppable posts as they want in their feed.
If you have an eCommerce store using WooCommerce, adding a few Instagram shoppable posts can give you a significant boost in traffic! Why? Because Instagram shoppers tend to be younger and more affluent than the average online shopper. They’re also more likely to be engaged with their mobile devices and spend a higher percentage of their income online than the average shopper, according to a study by Shopify.
Adding shoppable posts to your Instagram feed is a great way to reach these high-value shoppers and convert them into customers.
Why Should You Connect WooCommerce Catalog Feed with Instagram?
If you sell products on Instagram, it’s necessary to integrate your WooCommerce Catalog Feed with your account so that shoppers can purchase items directly from the platform. With over 500 million users, Instagram is a vast platform to help your business gain exposure and increase sales!
Instagram’s user base is highly engaged, making it an excellent place for businesses to advertise their products.
Adding shoppable posts to your Instagram feed is an easy way to boost your sales and reach new customers.
Let’s look at how you can set up your WooCommerce Catalog Feed to sync with your Instagram account.
How to Integrate WooCommerce Catalog Feed with Instagram
To connect WooCommerce and Instagram, you will require the following:
A business account on Instagram
A WooCommerce store with products
A Facebook business page
There are various ways to add products for a Facebook Catalog and Instagram Shopping. However, if you are dealing with a large number of products, then you might want to use a plugin for the same.
In this case, we will discuss how integrating ELEX WooCommerce Catalog Feed with Facebook & Instagram plugin can help you add products for Facebook Catalog and Instagram Shopping. And by the way, you might also want to check our Facebook and Instagram guide for WooCommerce before proceeding.
The first step is to install and activate the plugin. Once this is done, the plugin’s settings can be accessed via the WordPress admin panel under “Facebook Shopping Feed”. Go to Facebook Shopping Feed >> Create Feed.
Fill in the necessary details such as Project Name, Project Description, Country of Sale etc. Remember to set the File Format as a CSV file since our dataset is bulky. Once you are done, click the “Continue” button to proceed.

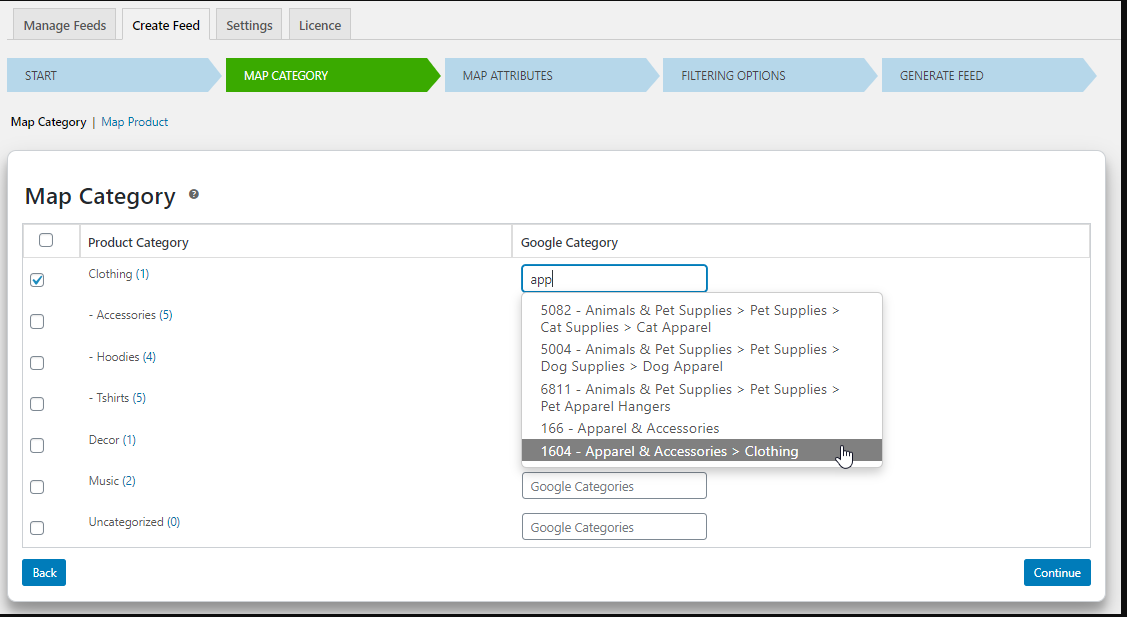
Next, you will need to map the WooCommerce categories to the corresponding Google categories. This can be done by clicking on the “Map Category” tab.
You will need to select the category you want to map and choose the corresponding Google category. However, if you don’t want to assign Google Categories for all your categories, you can select “Map Product” to add Google category specific to products.
Once this is done, click on “Continue” to proceed.
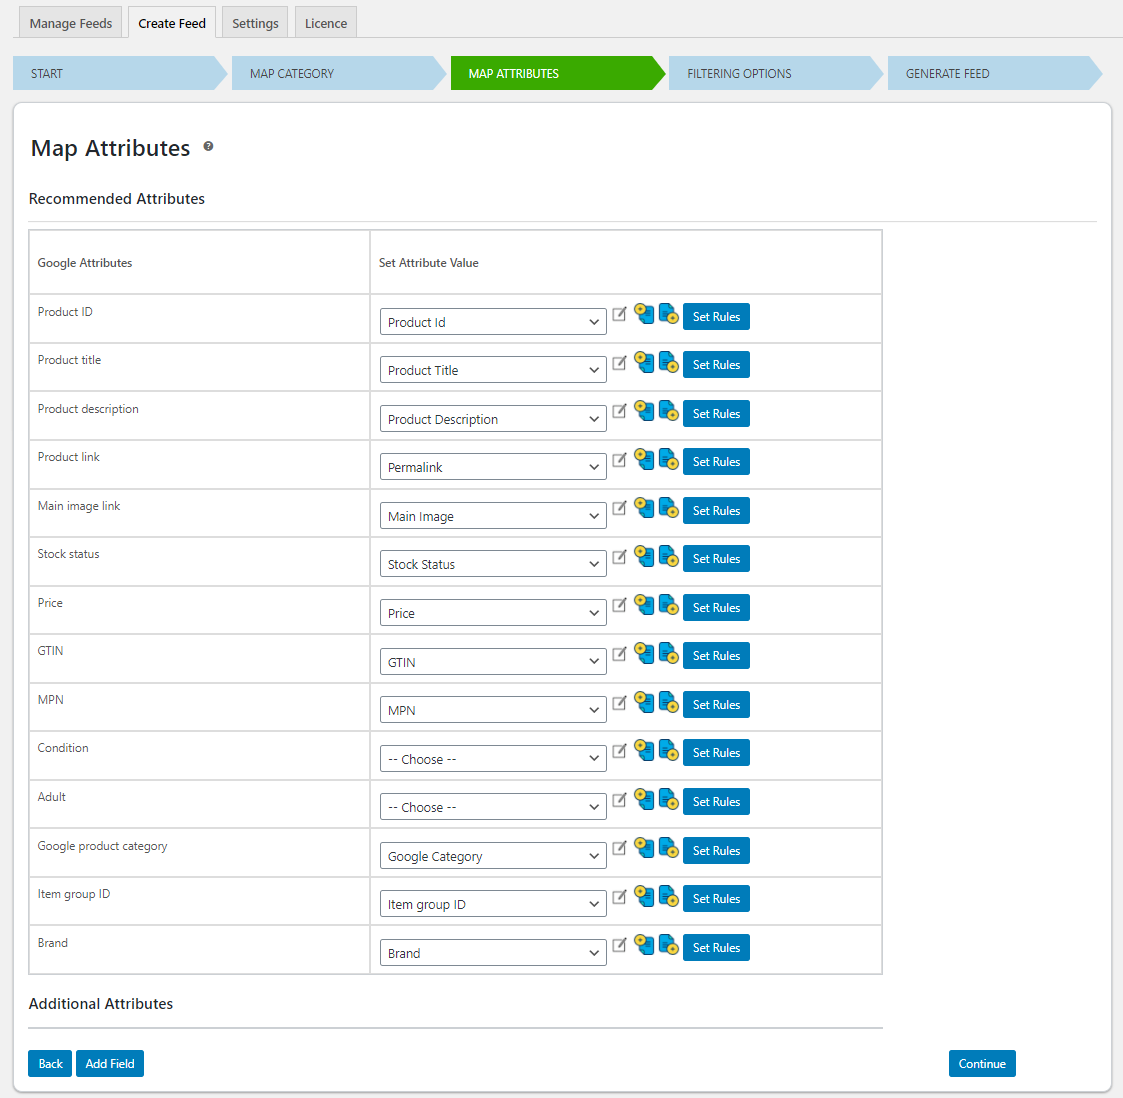
Next, you will need to map product attributes. Here, you can specify your product attributes against a set of compulsory feed attributes. The plugin will automatically map the relevant attributes. Still, you can choose to update them manually. Click “Continue” once you are done.
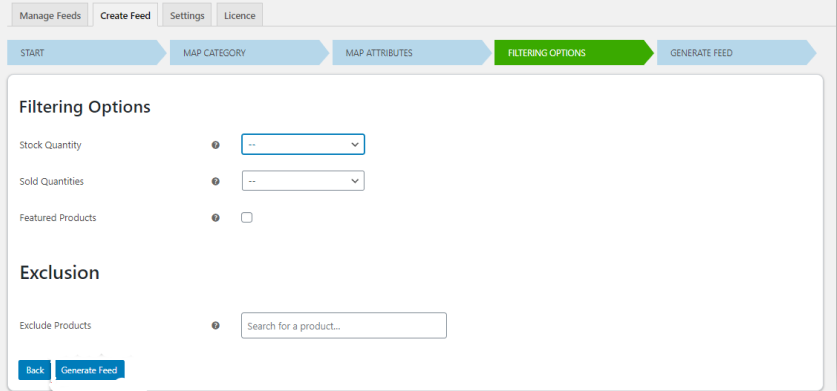
In the next step, you’ll find a filtering option whereby you can choose to include products matching specific criteria. This feature will enable you to exclude particular products from the feed, such as already sold products.
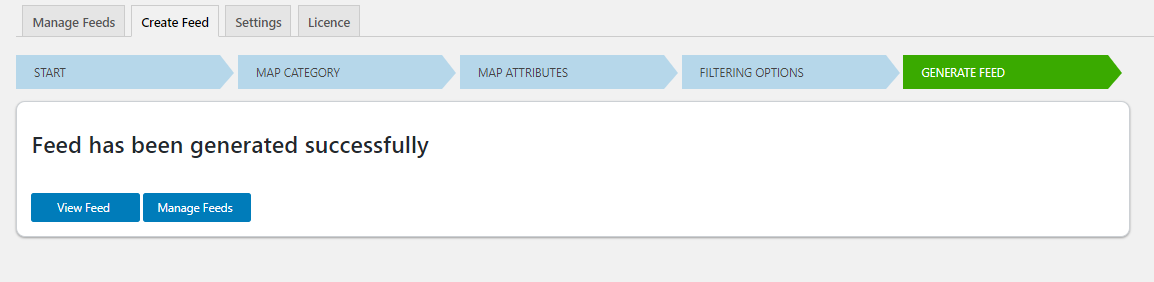
Click the “Generate Feed” button once you are done with this step.
Lastly, once your feed has been generated, you can access it at the Manage Feeds tab. Here you’ll find various information about the feed, such as the feed URL, date of generation, and various actions you can perform at the generated product feed. You may opt to Edit, Pause, Export, Download, View, Show Report, Re-generate, Delete, or Copy the feed.
Setting up your Facebook page and your Page Catalog
To set up your Facebook page catalog, you’ll need to create your Facebook page first.
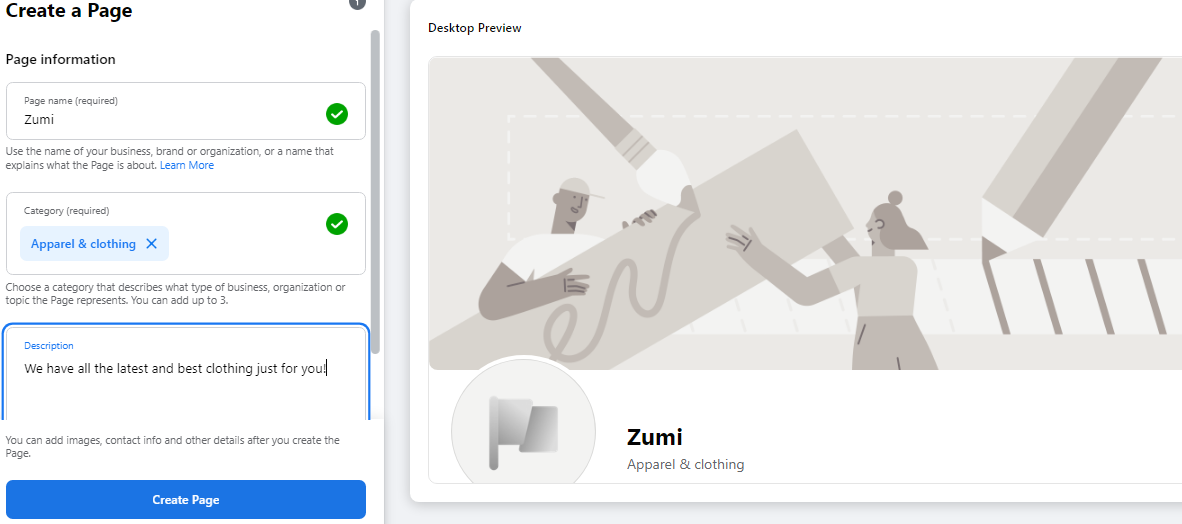
To do this, go to Facebook.com and click on “Create a Page”.
Select the option that best describes what your business does and click on “Create Page”. Your page will be created, and you’ll proceed to fill in additional information about your business. Once you’re done, click on the “Save” button to save your changes.
Now that you have created your Facebook Page, it’s time to set up your Page Catalog.
Building and Setting Up Your Shop Catalog
Next, you will need to build a shop catalog for your page, open your Facebook Catalog Manager and click on “Get Started”.
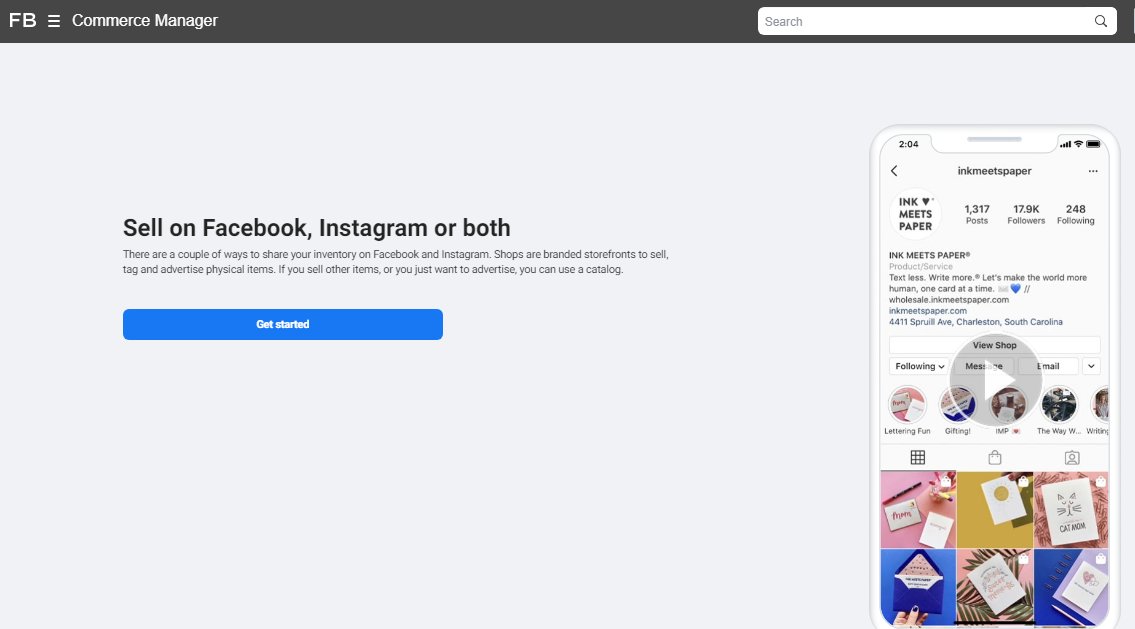
Click on “Create a Catalog” and “Get Started”.
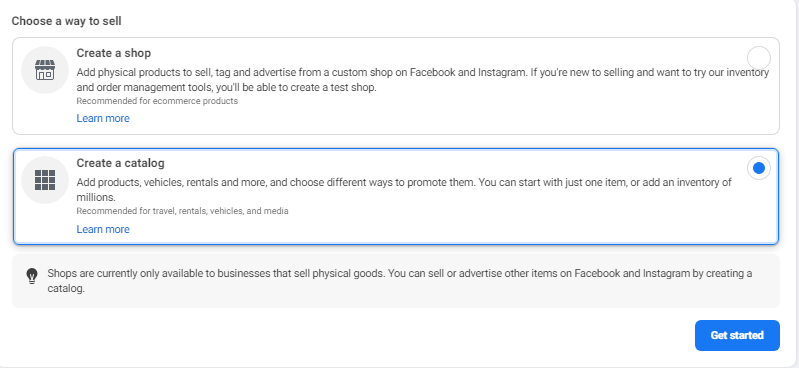
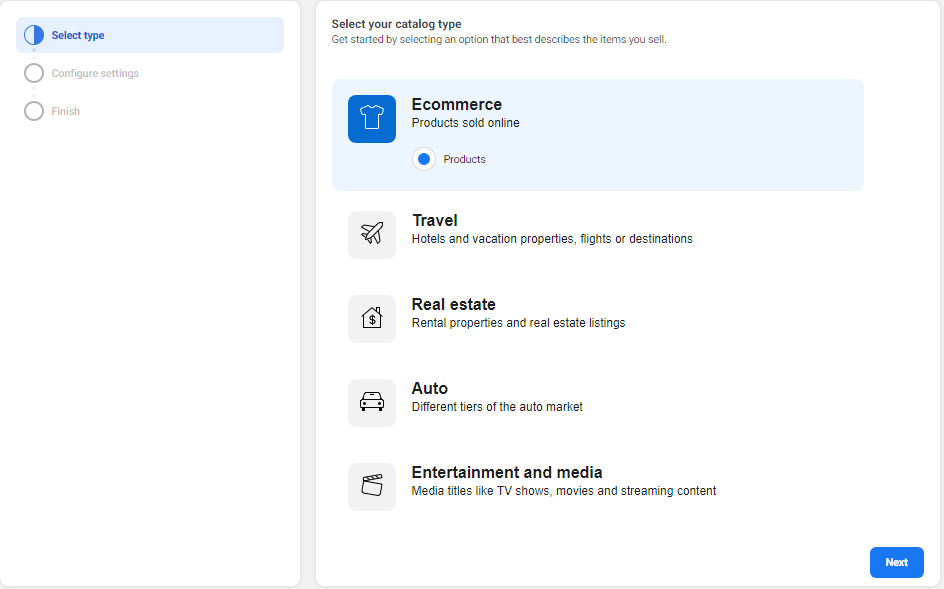
A new menu will pop up requiring you to choose your catalog type. Click on “E-Commerce” then “Next”.
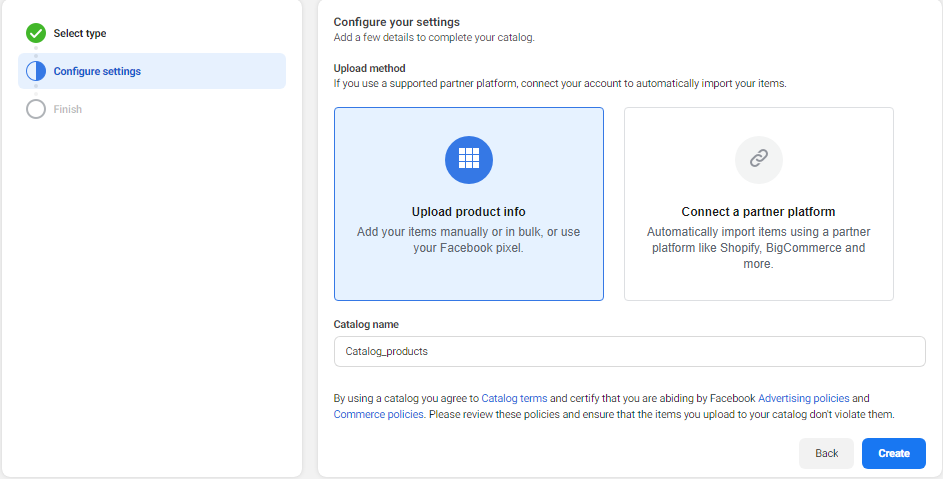
You will need to specify the upload method you wish to use in the next step. In this case, we will select the “Upload Product Info” since we are adding product information in bulk using a CSV file. Click on “Create” to proceed.
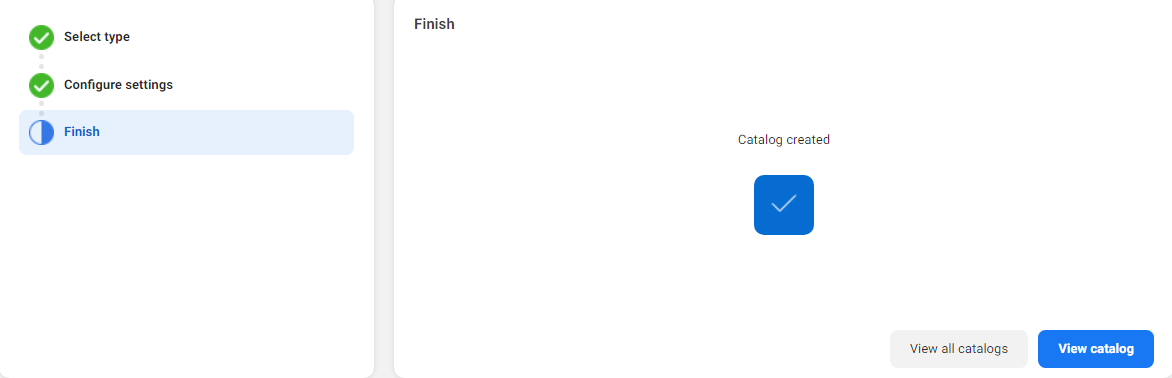
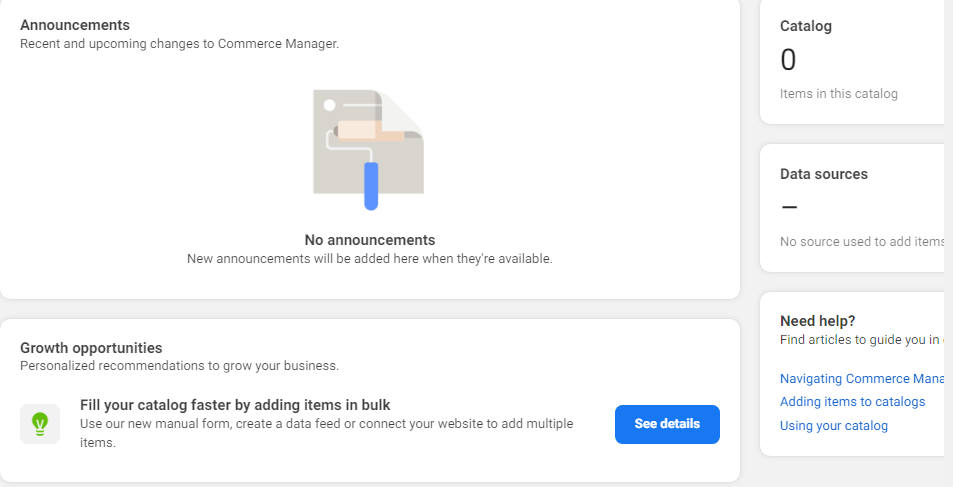
A new catalog will be created. Click on “View Catalog” and proceed to fill your catalog by adding items in bulk.
Click on “See details” to proceed with filling your catalog faster by adding items in bulk.
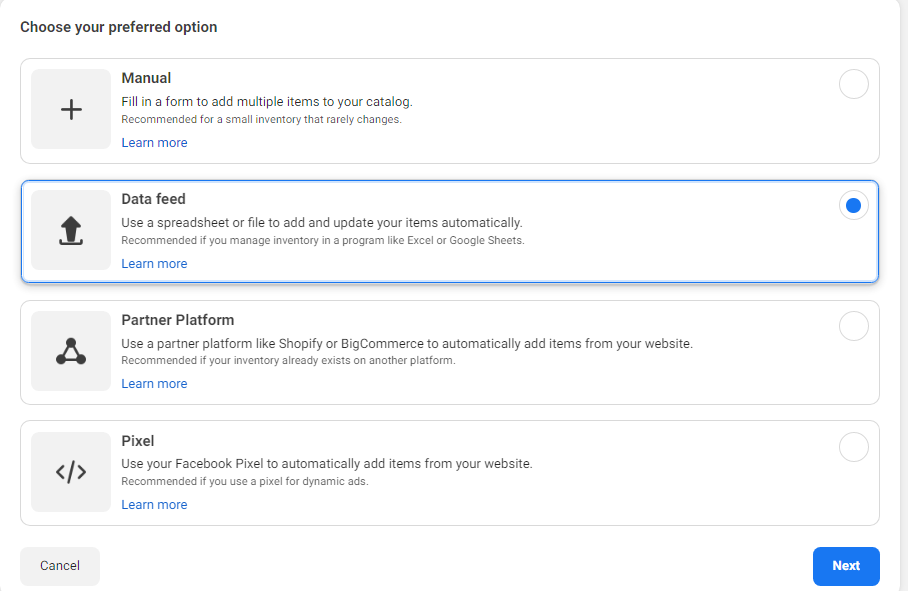
Four options will appear upon clicking the “See Details” button (Manual, Data Feed, Partner Platform, Pixel). Select “Data Feed” and click the “Next” button.
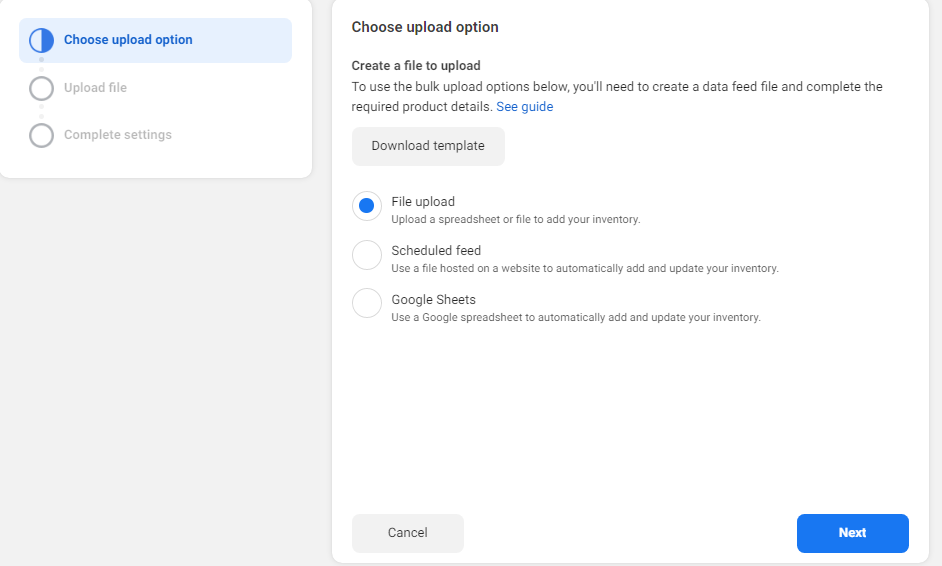
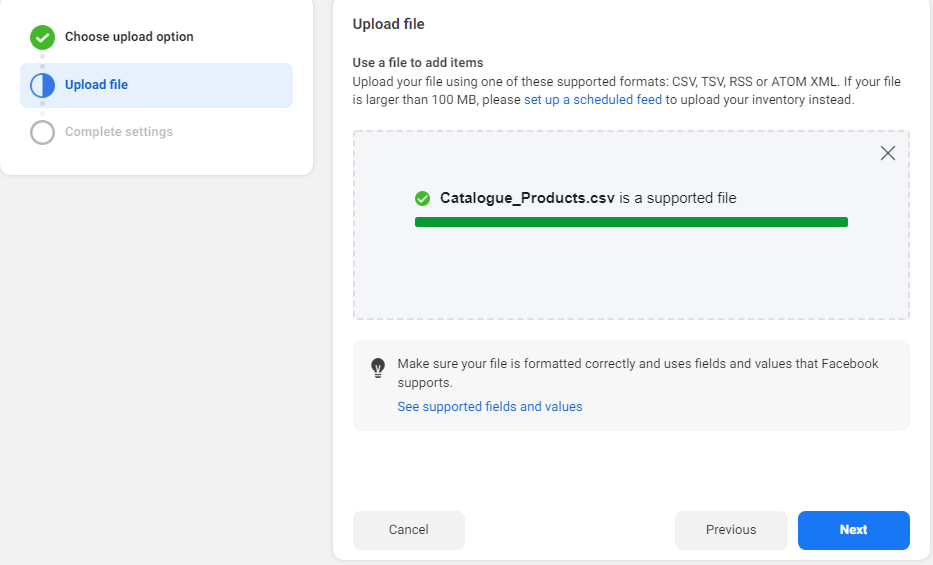
Three options will appear. Select “File Upload” and click the “Next” button to continue and upload the CSV file.
Once the upload is complete, select “Next” to continue and your feed will be automatically updated with WooCommerce Catalog Feed!
How to Connect Facebook Catalog with Instagram Shopping
Setting Up Your Instagram Page
First, you’ll need to create an Instagram business account. This will give you access to features like Shopping and Insights that aren’t available with your personal account.
Next, visit the Instagram business website and select “Start Now”. You’ll be asked to provide a company name, contact email address, phone number, and website address.
You’ll be prompted to verify your account with business information: company name, tax ID or social security number, and business address.
Alternatively, you can log in with your existing Instagram account and navigate Settings >> Account >> Switch to Professional Account. Here, you’ll be asked to provide the same business information.
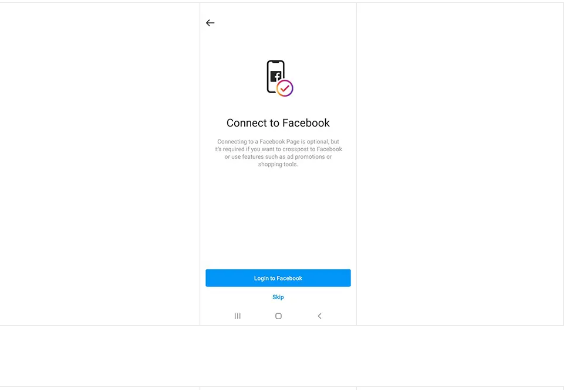
Next, ensure to sync your Instagram page with your Facebook Business Page by following all the prompts that will appear in the pop-up menu.
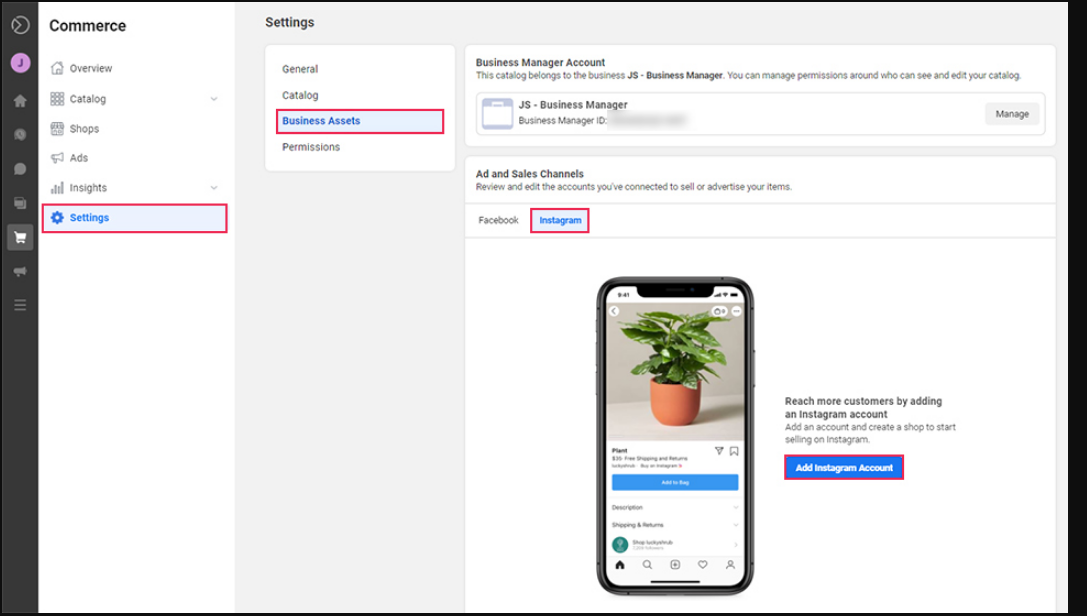
After setting up your Instagram account, go back to your Catalog page, click on the “Settings tab”, and select “Business Assets”. Next, proceed to the Instagram tab and click on the “Add Instagram Account” button.
Setting Up Your Instagram Shop
On your Instagram app, navigate to “Settings”, proceed to “Business”, and click on “Set Up Instagram Shopping”.
Next, click on the “Get Started” button and connect Instagram to your Facebook page. Once you have selected your page, click on “Next” and select the product catalog you had imported from your WooCommerce store.
Click “Next” and enter the website domain of your WooCommerce store. Finally, click on “Submit for Review” and wait for the Instagram store to be approved.
Once approved, you’ll be able to see all the products from your catalog on the left side of the page. Click each product to add a new image that you would like to feature in your Instagram feed.
Enabling Product Tags in Instagram
To enable product tagging, navigate to your Instagram profile.
Click on Get Started or the gear icon.
Click on Shopping > Continue.
Pick a catalog to connect to your business profile, and lastly, click on Done.
You will now see a list of all the products on your Facebook page connected to Instagram. To tag these products in a post, follow these steps:
Select a photo, type your caption, apply any relevant filters or hashtags.
Next, click on the product icon and select one or more products you want to tag.
Click “Done” at the bottom of your screen. Voilà! You have now successfully tagged products in your Instagram post.
Conclusion
In summary, to connect your WooCommerce store to Instagram, start by installing the ELEX WooCommerce Catalog Feed for Facebook & Instagram plugin on your store. Next, set up a Facebook page for your business and create a catalog for it. Once you’re done, set up your Instagram business profile and connect it to your Facebook page. Lastly, set up your Instagram shop, import your shop catalog to your page and start tagging products on your Instagram posts.
Now that you know how to integrate the WooCommerce catalog feed with Instagram, you can promote your products on the popular social media platform. Remember to use relevant hashtags and post attractive images of your products to get the most out of this marketing strategy.
If you found this guide helpful, please share it with your followers! And be sure to subscribe to our blog for more WooCommerce tips and tricks. Happy selling!
What is the difference between a Standard Shop, Custom Shop & Shopping Storefronts feeds?
Standard Shop feeds contain the products from your existing WooCommerce Catalog. Custom Shop feeds allow you to customize product data before sending it to Instagram. Shopping Storefronts are a customizable feed that enable you to create unique, branded content for each shopper and store their browsing history so they can return later on an iOS or Android device, then follow directly to the store.
How do I know if my feed appears correctly on Instagram?
After you have set up your feed and it has run for a little while; you can check by going to your profile on Instagram and clicking the three lines in the top left corner. From there, select “Business Profile”, then under “Insights”, click on “Shopping”, which will show you how your feed is performing.
How do I know if my feed is performing well?
Your feed is performing well if you get new sales, and the Instagram Shop is working. It’s good to compare your Analytics of WooCommerce with that on Feed. You can also look at how many people buy from your shop and whether they came through Instagram or not.
How can I track orders placed on Instagram?
During checkout, customers will see a “Go to Website” button, and when they click this, they’ll be taken directly to your website order page, where all their shipping information is captured.