By adding a custom product builder in WooCommerce you will allow your customers to design products of their own choosing and make any type of customizations. This in turn will lead to significant boosts in sales.
Today, we will talk about how to easily add a custom product builder in WooCommerce.
Why do you need a custom product builder?
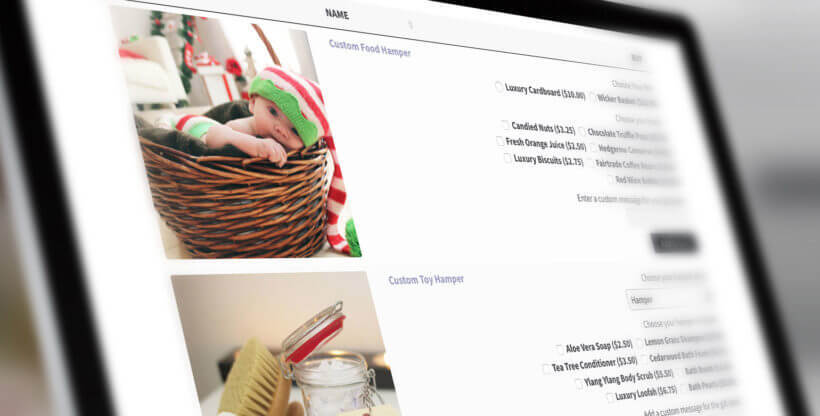
This will allow customers to be able to customize their own products before purchasing it.
For example, you can make print on demand products and give the option to customers to add images, logos, and even text.
By having a custom product designer, you can sell your own products which can be customized prior to shipping.
Aside from that, you can even start a dropshipping business while a 3rd party vendor will take care of shipping and product customization.
Add a custom product builder to your store
For this example, we will be using Zakeke, a WooCommerce tool which provides a great product builder experience for users.
After making a Zakeke account, you need to choose an eCommerce integration. Click on Next and continue.

Zakeke works great with all major eCommerce platforms like WooCommerce.
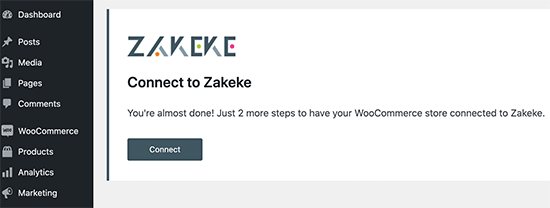
Go back to your WP admin area in order to connect your store to the tool.
Install and activate the Zakeke plugin (it’s free). You will now be asked to connect your Zakeke account to your WooCommerce store. Click on the Connect button.
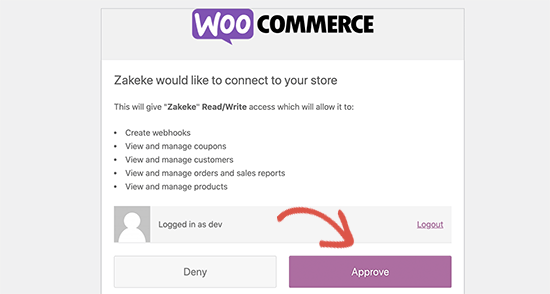
Allow access to the plugin so that it can perform different actions. Click on Approve.
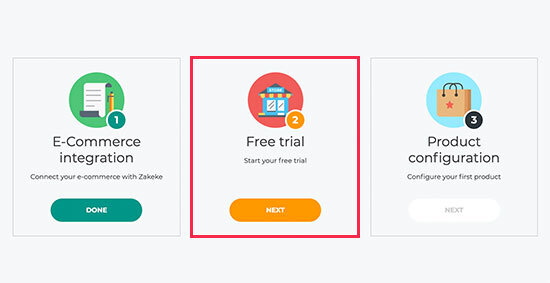
You will now go back to the Zakeke site where you need to choose a plan. Click on Next and continue.
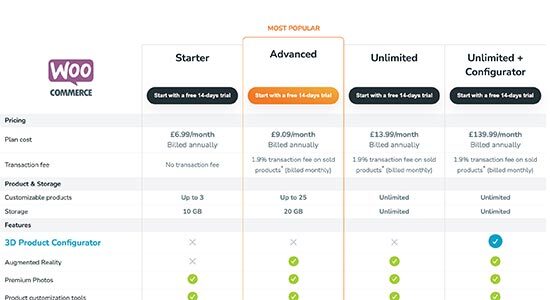
The next step shows you the pricing plans and each comes with a 14-day free trial without adding any payment details.
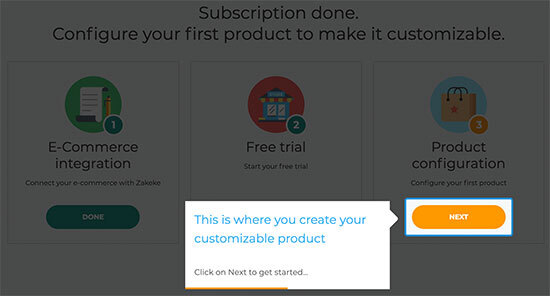
How to add a customizable product?
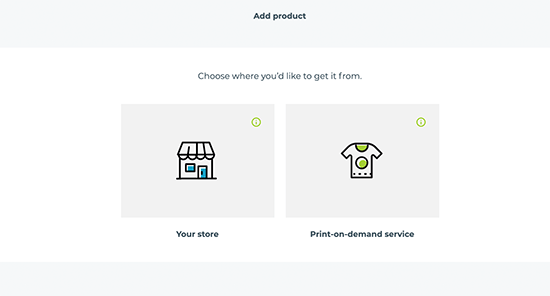
Click on the Next button in order to launch the product editor and add a product.
Choose a random product from your store or select a print in demand option.
For the sake of this example, we are choosing a product from a store.
Now, the plugin will load images from the store where you need to choose the product you wish to customize.
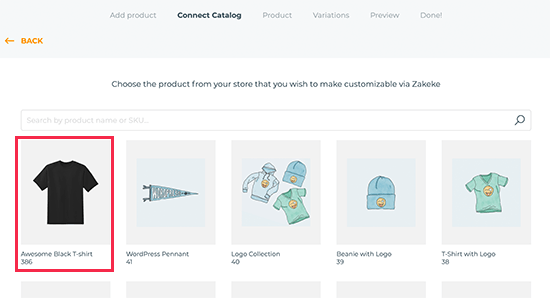
It will now choose the image from your store. You can also upload one if you wish.
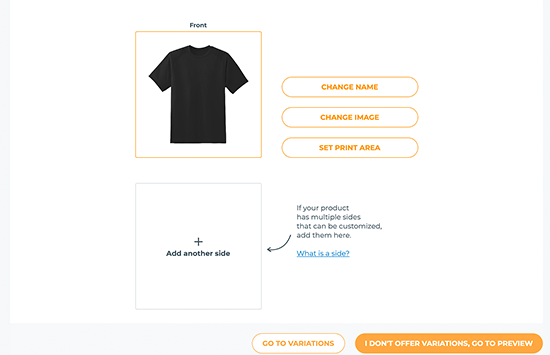
Once you choose your image, click on Set print area. You should see a pop up where you have to set a ruler by drawing a line with the mouse and giving measurements.
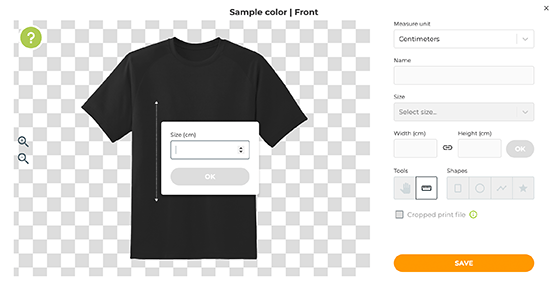
Next, choose a shape for the print and draw it on the image.
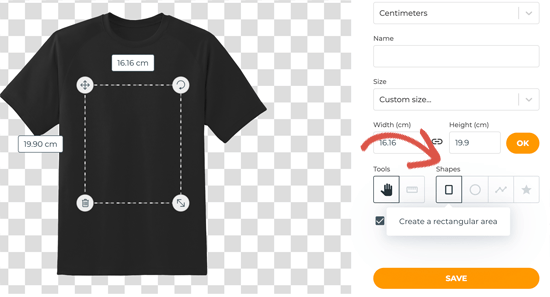
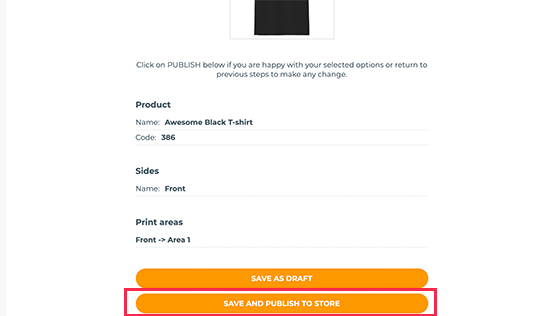
Once you are done, click on Save. A Proceed to preview button will appear to finalize the changes, so click on it.

The product details should be visible. Save the changes as draft or publish them.
Print methods
Your next step should be setting the print methods. You have the option to choose how you want the design files to be formatted.
Open your Zakeke account dashboard and click on Printing methods – Add Printing Method button.
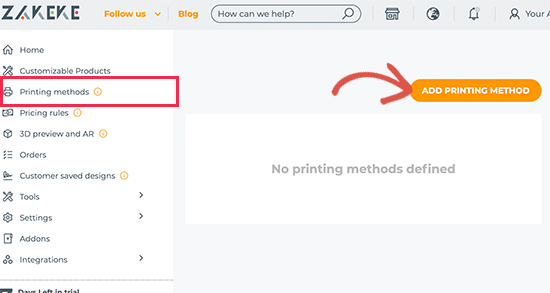
You can choose the printing features which you will allow to customers, as well as the resolution, file types and format.
You can also choose the existing products that the method will apply to.
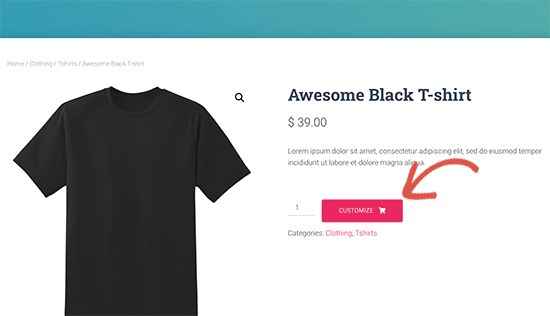
How to use the custom product builder in WooCommerce?
Zakeke will take of the details, all you need to do is go to your store and you should be able to see the option for customizing the product.
The product designer interface should open with a preview of the product image design tools. Users can use their devices to upload images.
They can also adjust text and image to the print area by dragging the corners, while also being able to choose colours, fonts and styles.
This also works on mobile devices and can automatically adjust in order to match the screen of said device.
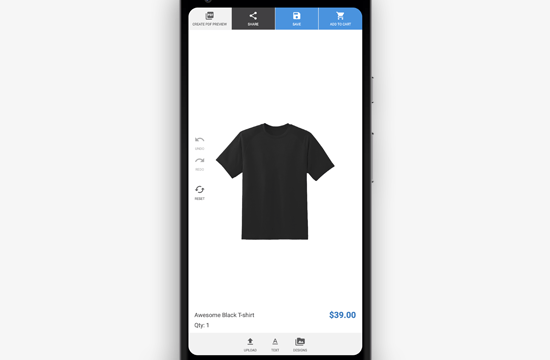
Once they are done, users can download a copy of the design or add it to the cart.
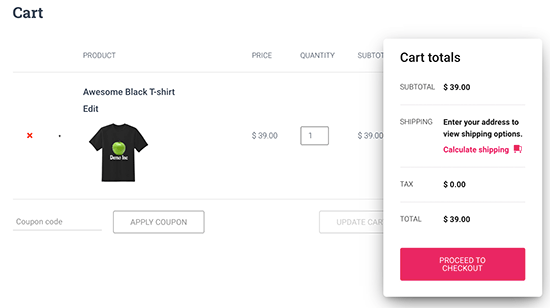
Users can check out as normally with a preview of their cart.
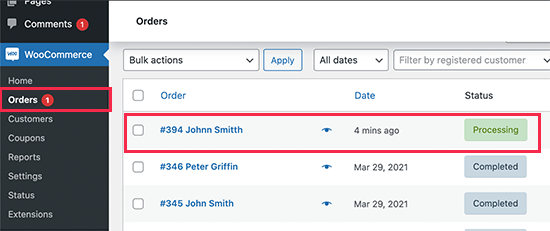
How to process the order?
The Zakeke plugin makes it simple to get the files for each order. Go to WooCommerce – Orders and click on a specific order.
Once you are on the orders details page, you should see a preview of the design and a link to its files.
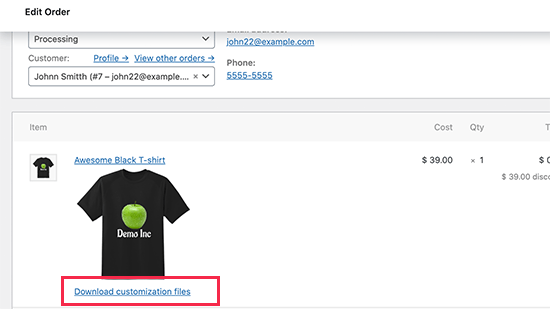
You can download the files and send them for printing or to your vendor.
We hope today’s article was helpful in learning how to add a custom product builder to WooCommerce.